Translating a WordPress plugin can significantly enhance the user experience for your non-English speaking audience. In this guide, we’ll walk you through the steps to translate a WordPress plugin ensuring your site is accessible and user-friendly for all visitors.
Video version:
Step 1: Create a WordPress.org Account
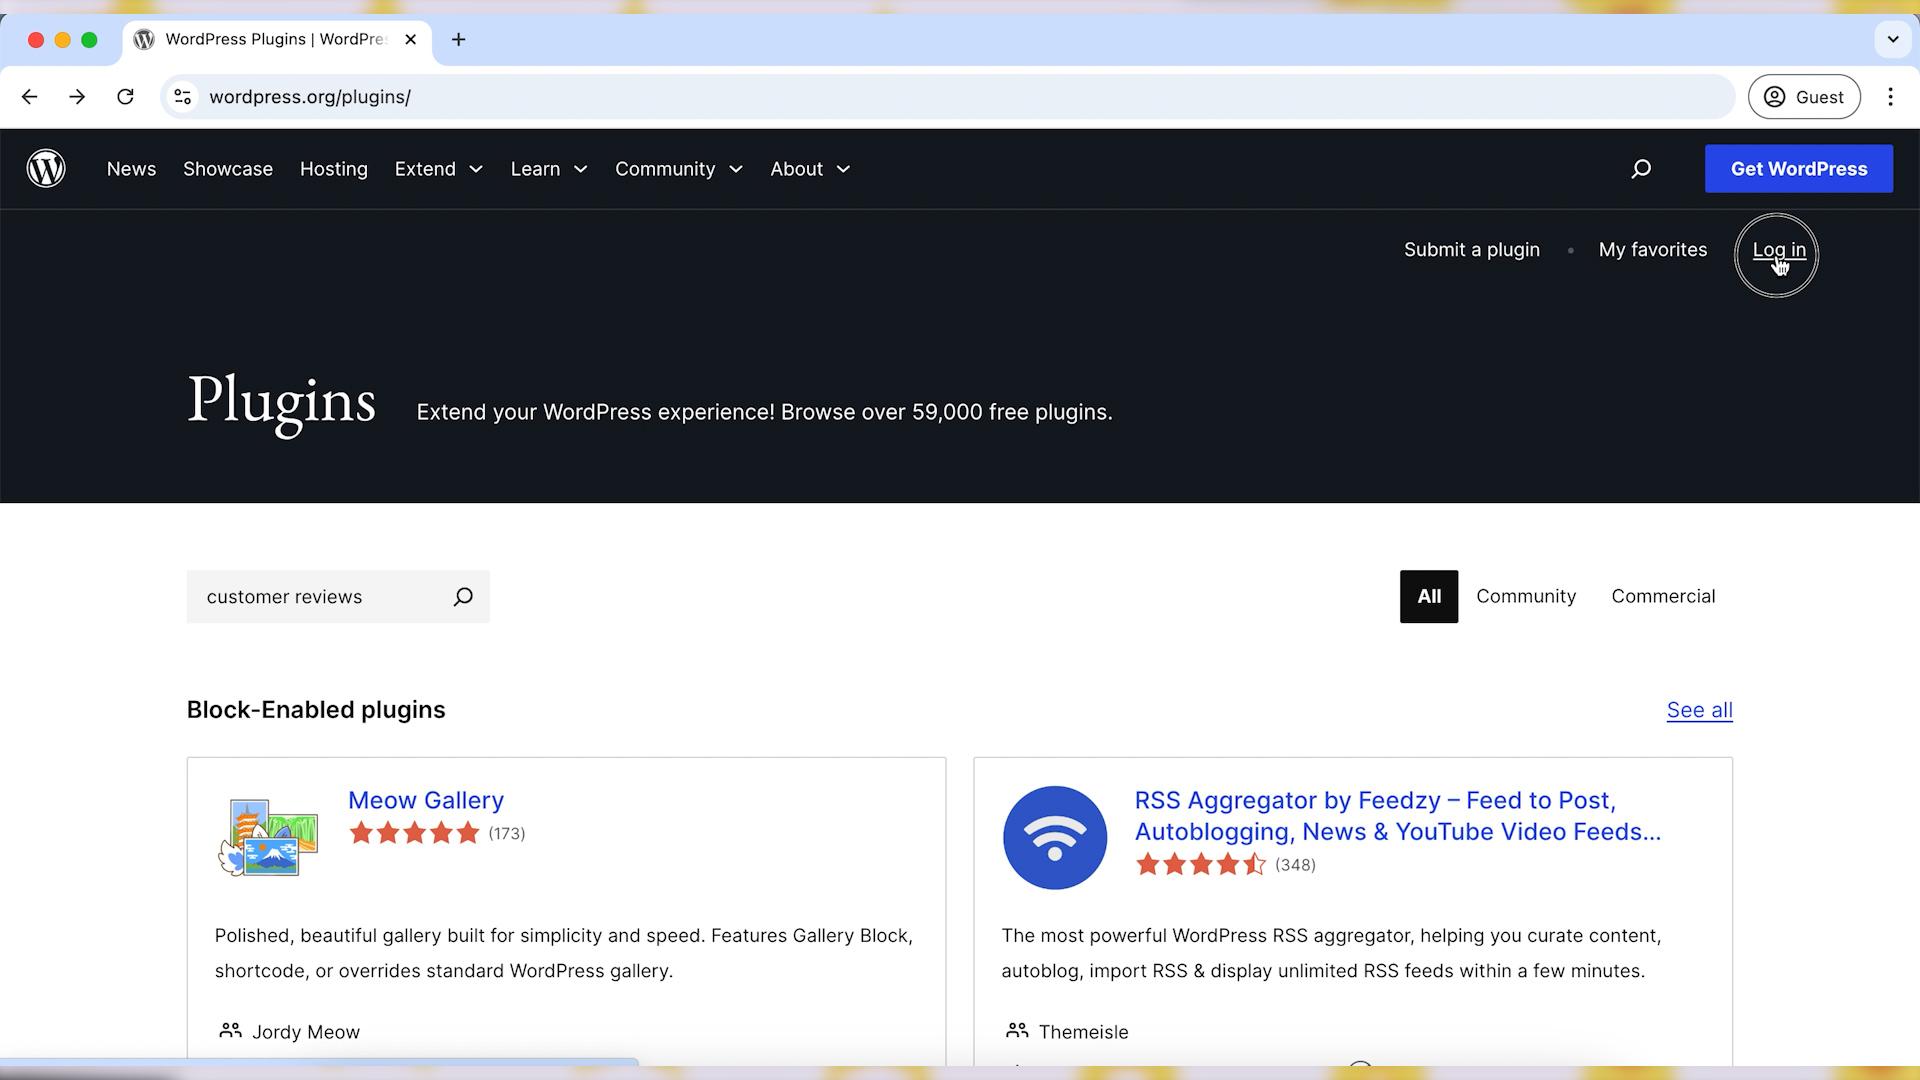
Before you can contribute translations, you’ll need to create an account on WordPress.org. After signing up, log in to your account.
Step 2: Find the Page of the Plugin You Want to Translate
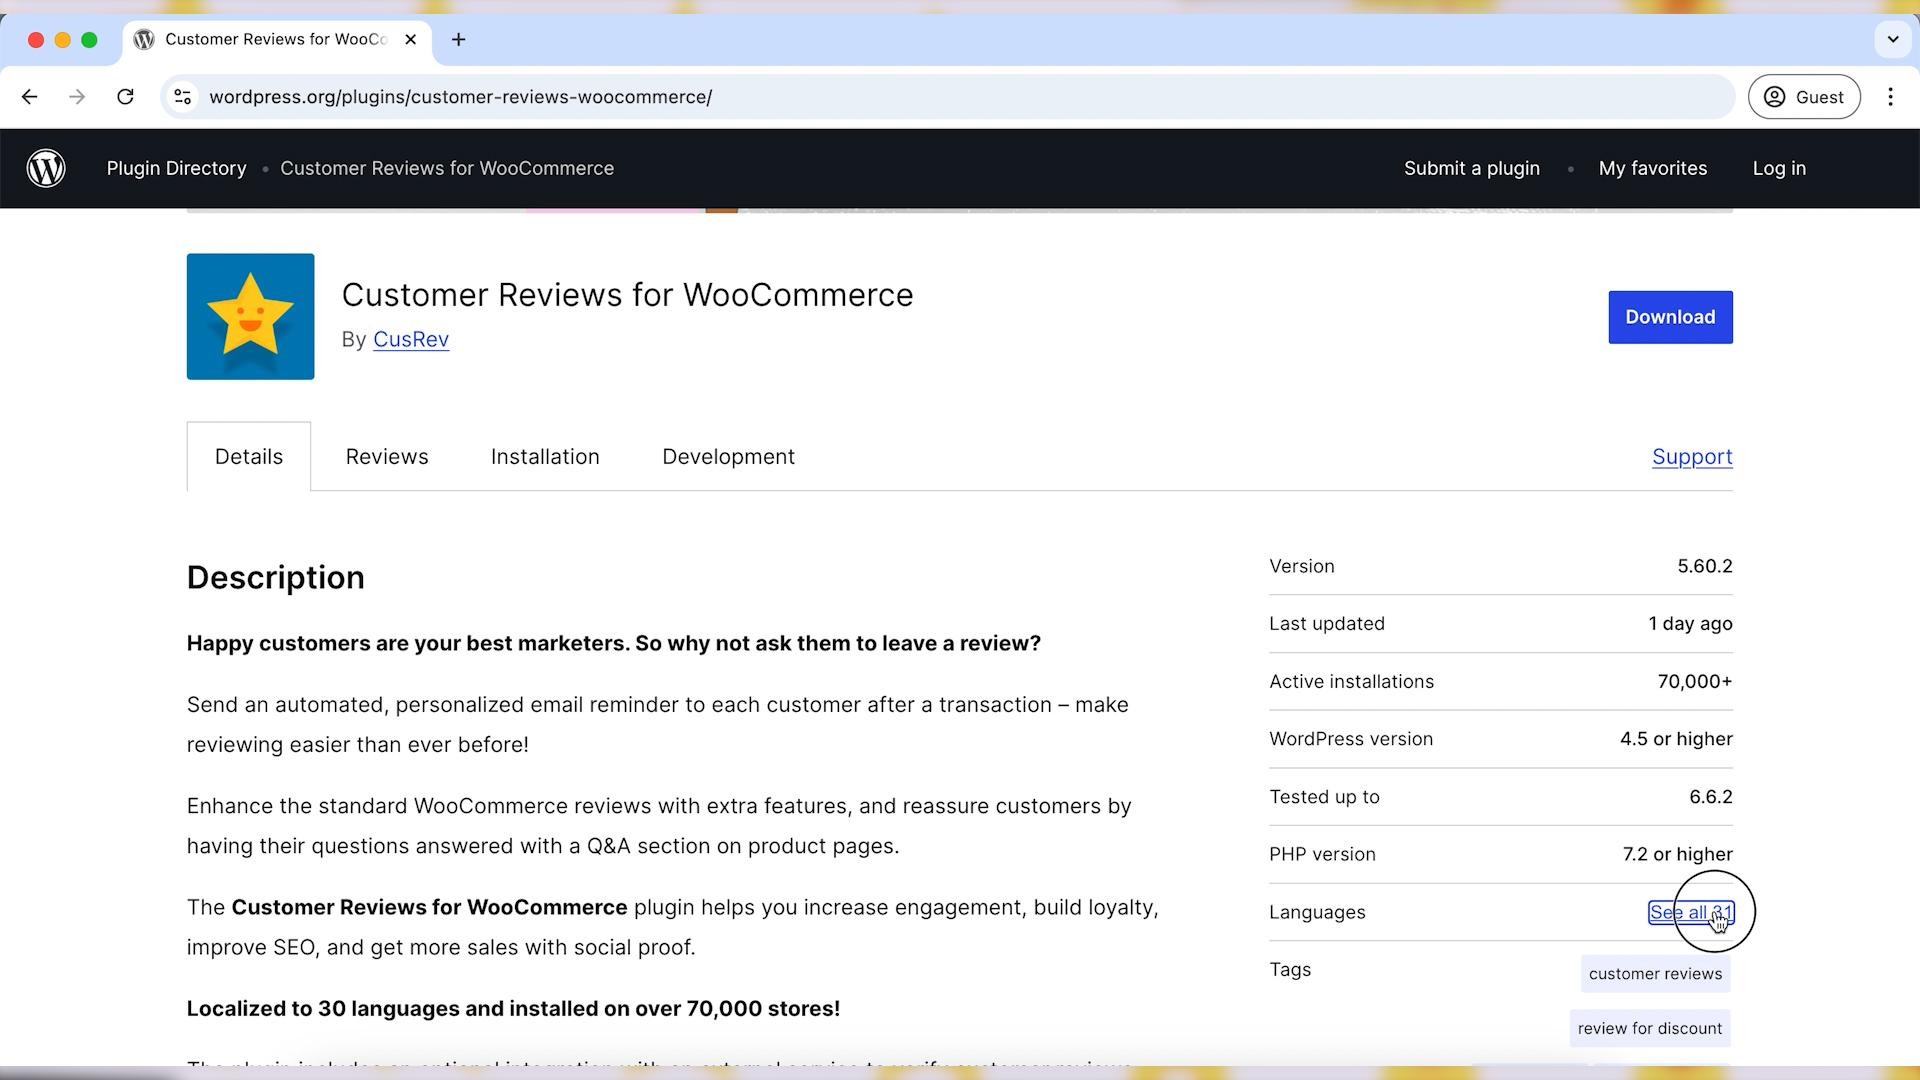
Go to the plugin’s page on WordPress.org. In this guide, we will use our Customer Reviews for WooCommerce plugin as an example. Use the Languages section to open the list of languages available for translation.
Step 3: Select a Language
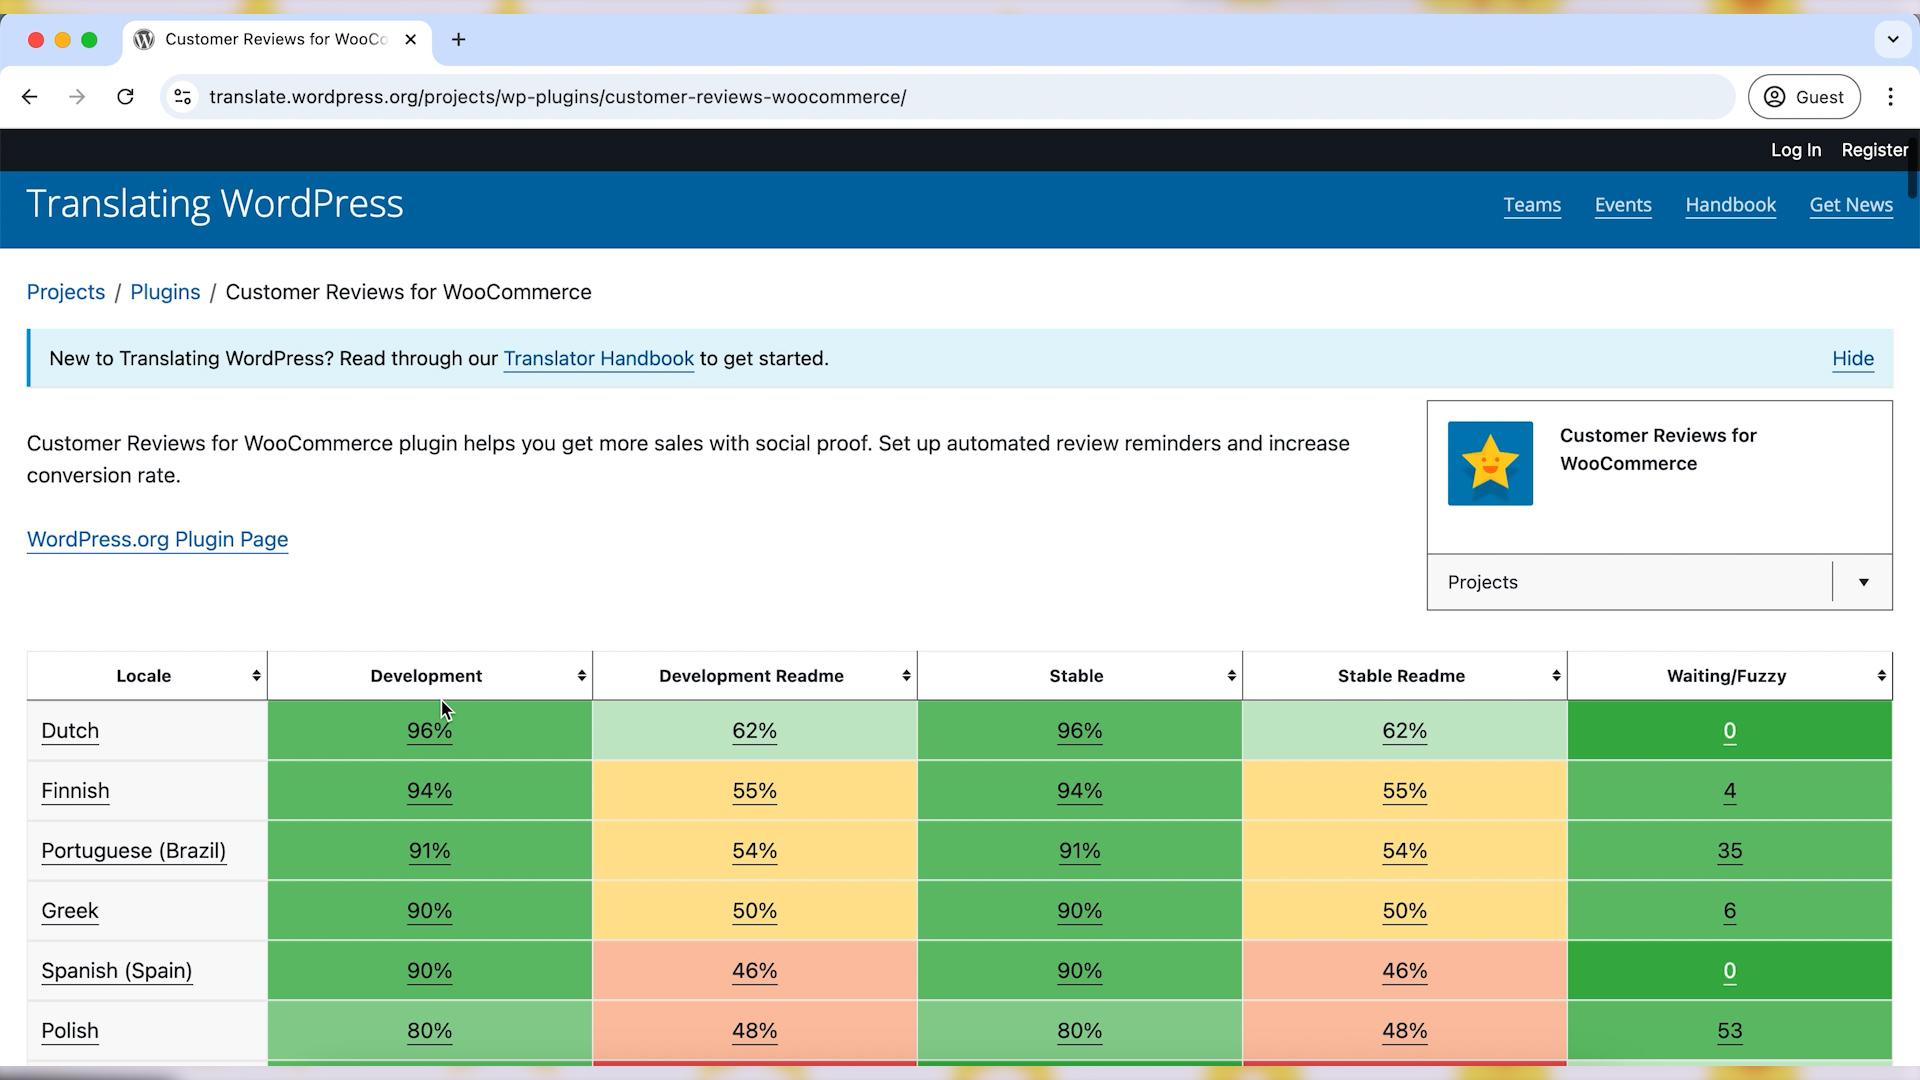
Check the list of available languages for translation. Select the language you want to translate the plugin into from the list.
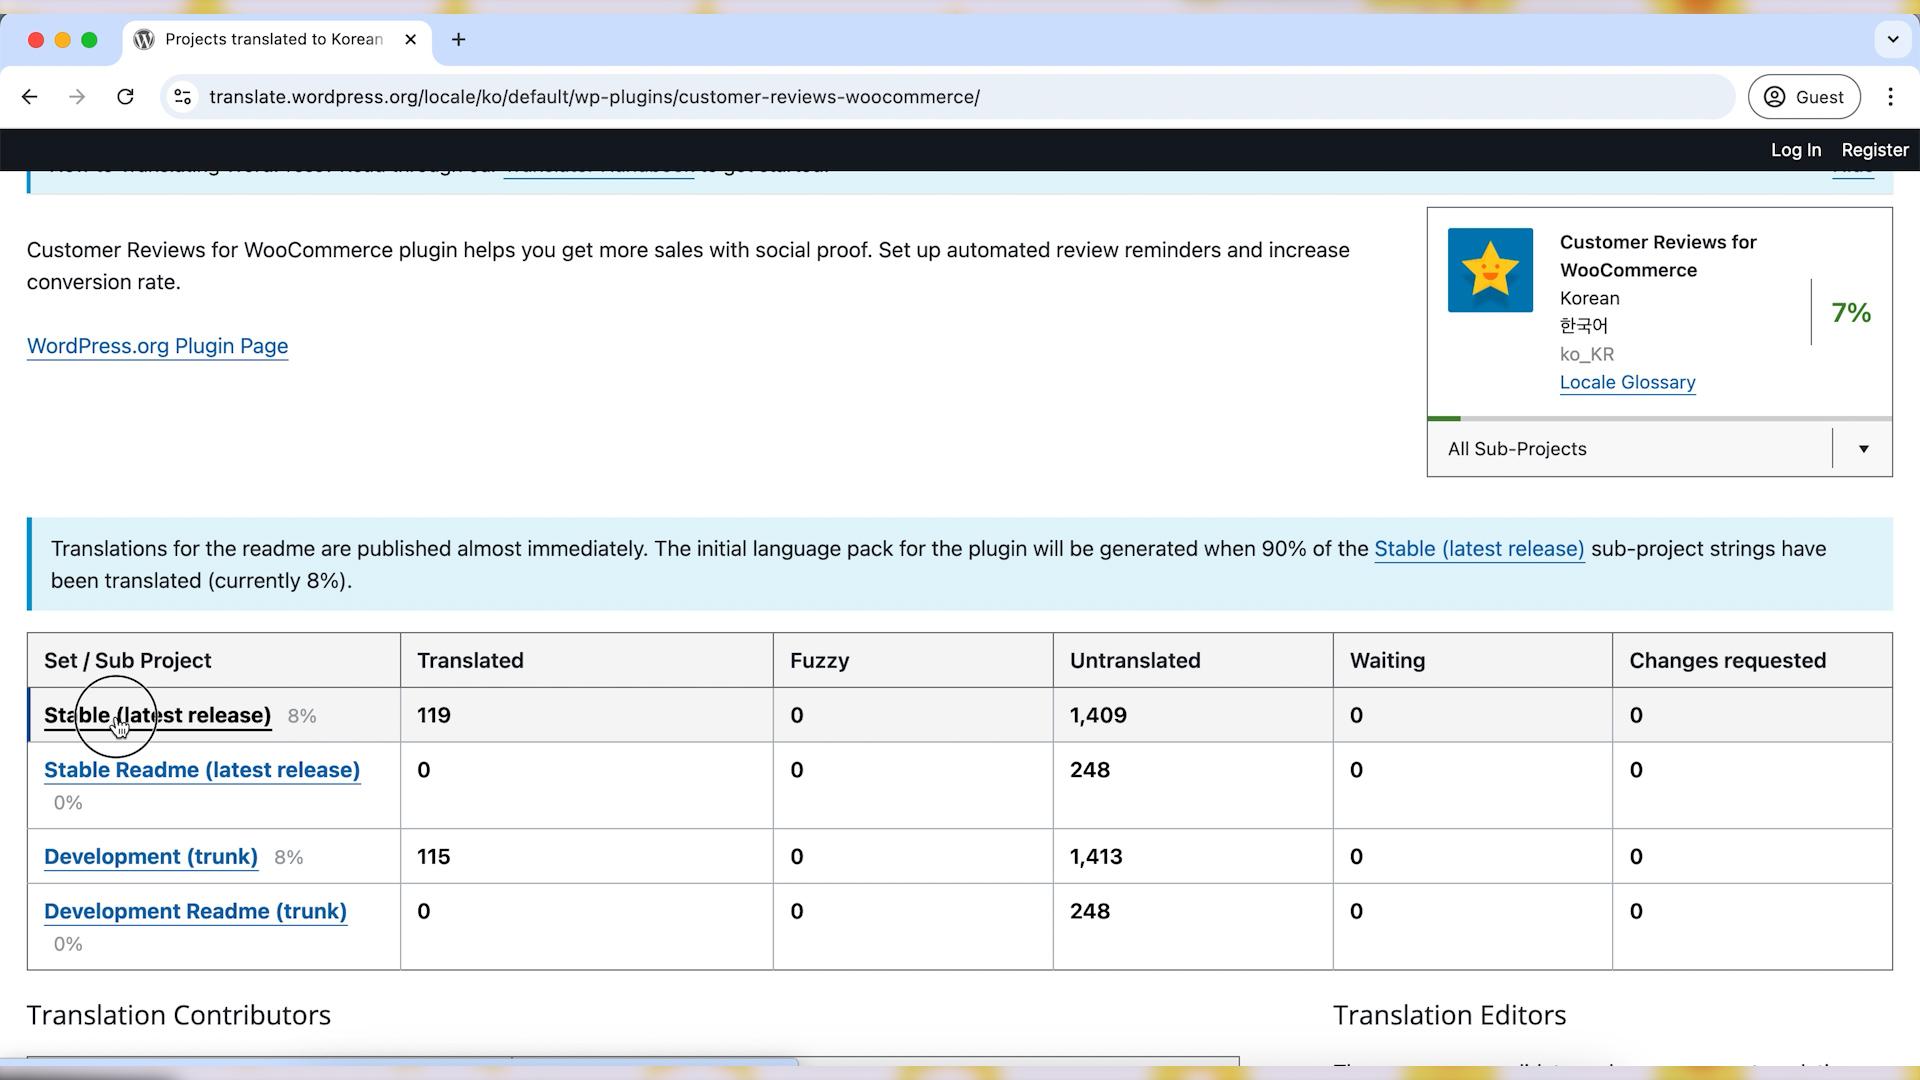
Plugins often have multiple projects (e.g., Stable, Development, or Readme files). Select the project you’d like to translate. For general plugin translations, choose the “Stable (latest release)” project.
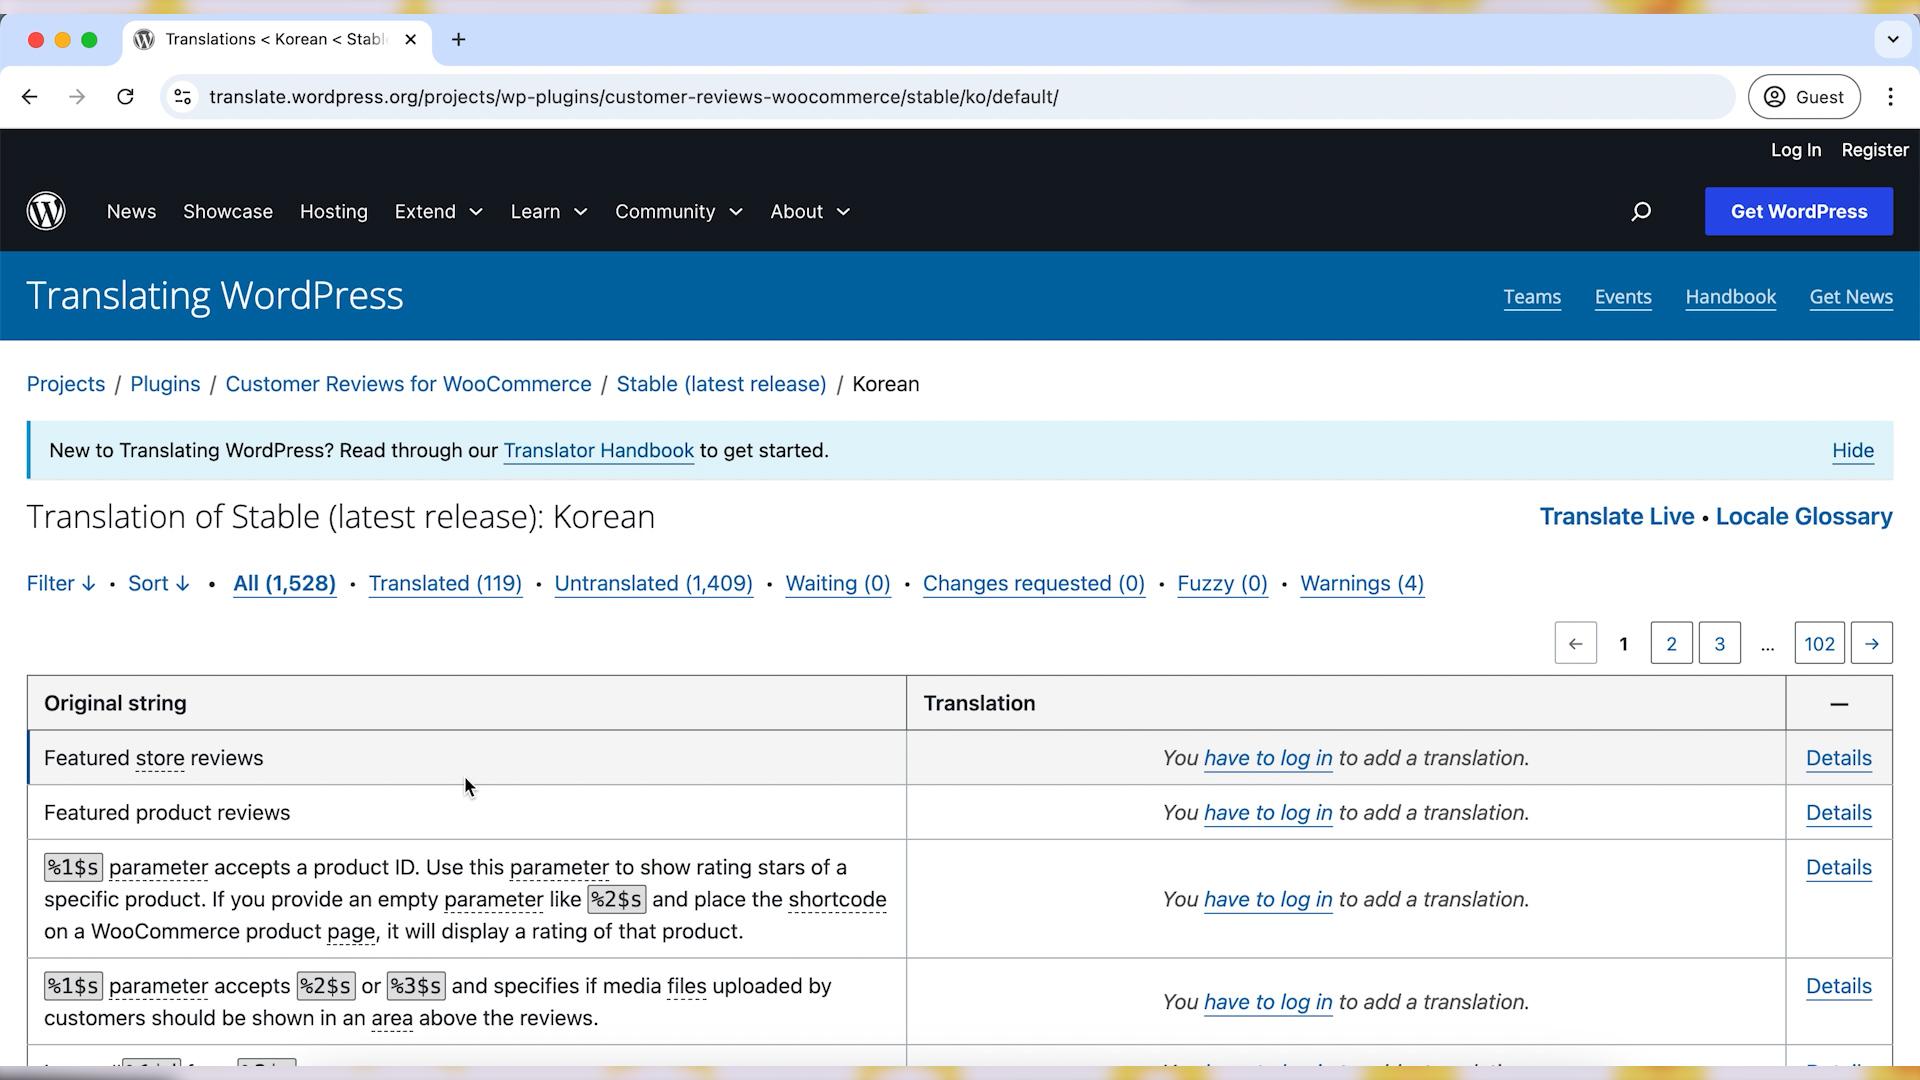
Step 4: Start Translating
You will now see a list of strings (pieces of text that appear in the plugin) that need to be translated.
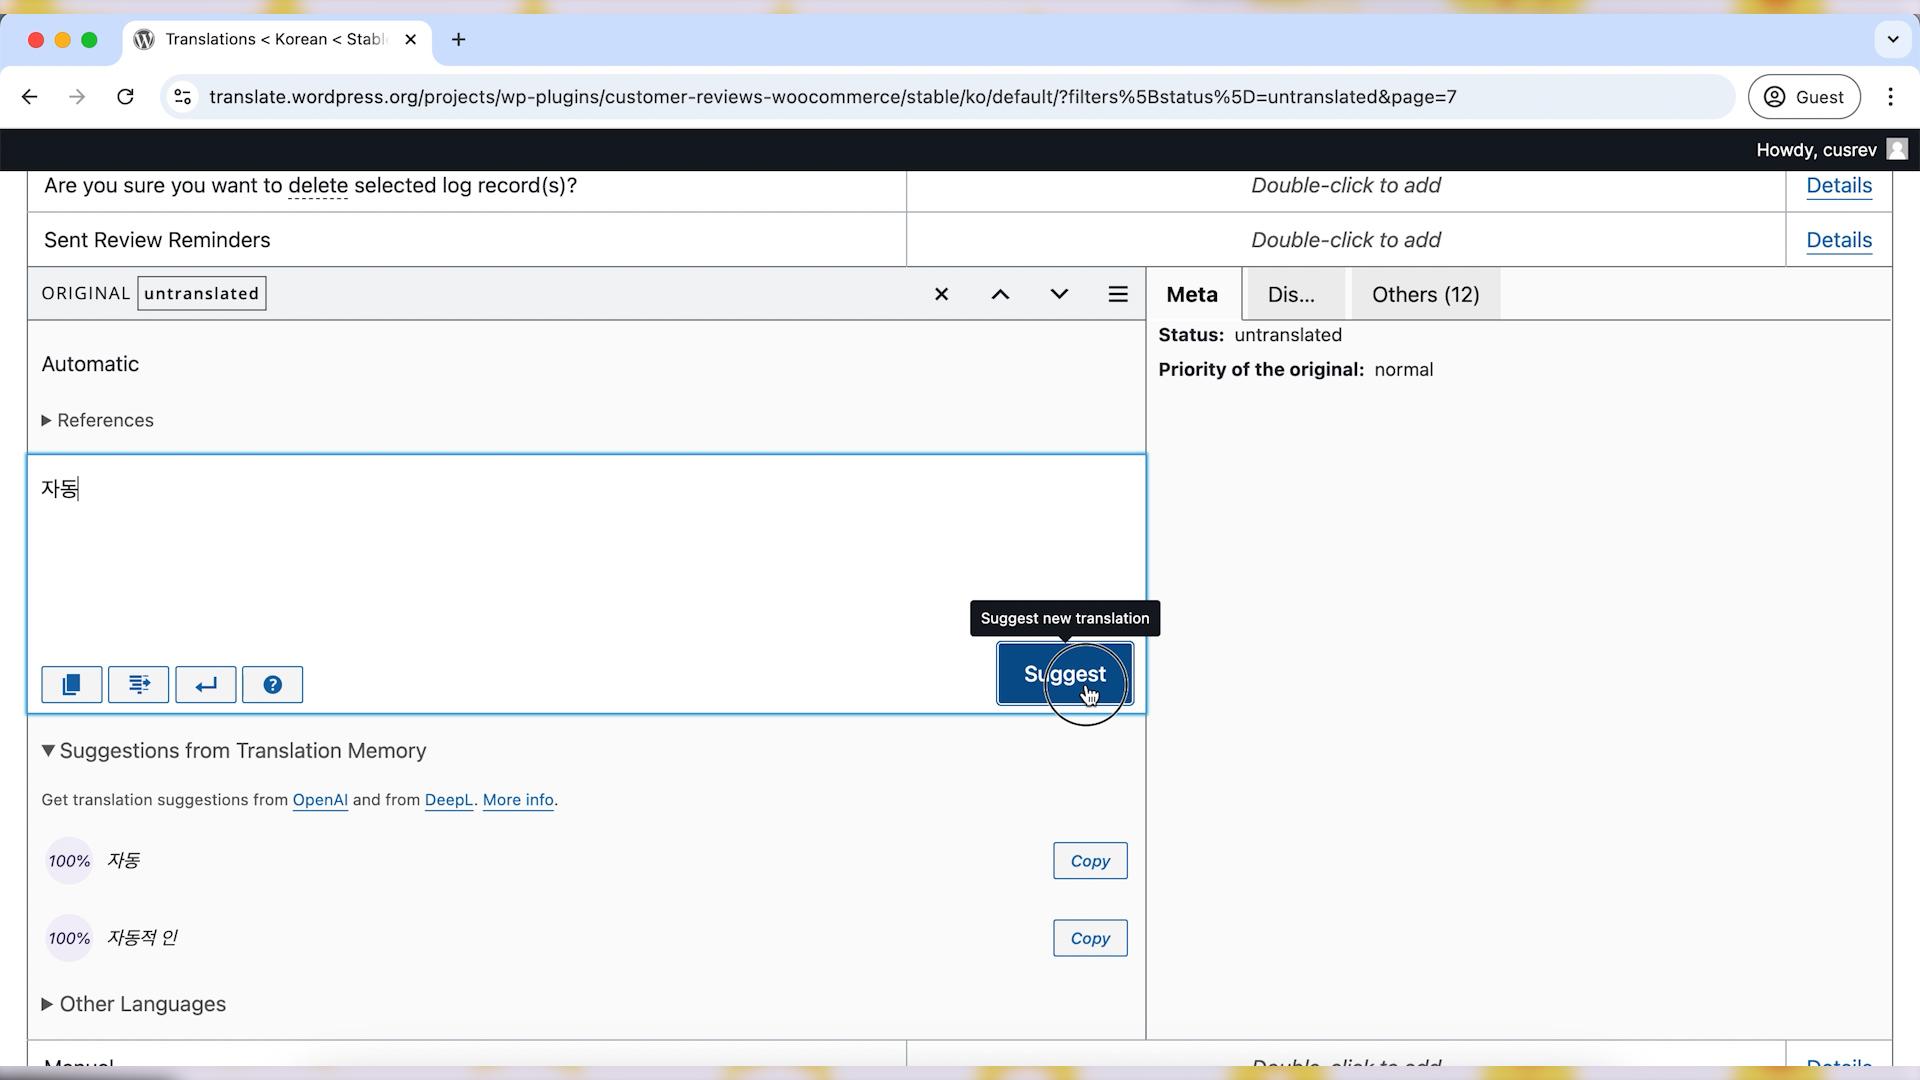
Click on any string to start translating.
A text box will appear where you can input your translation for that string. Enter your translation and submit by clicking on the “Suggest” button.
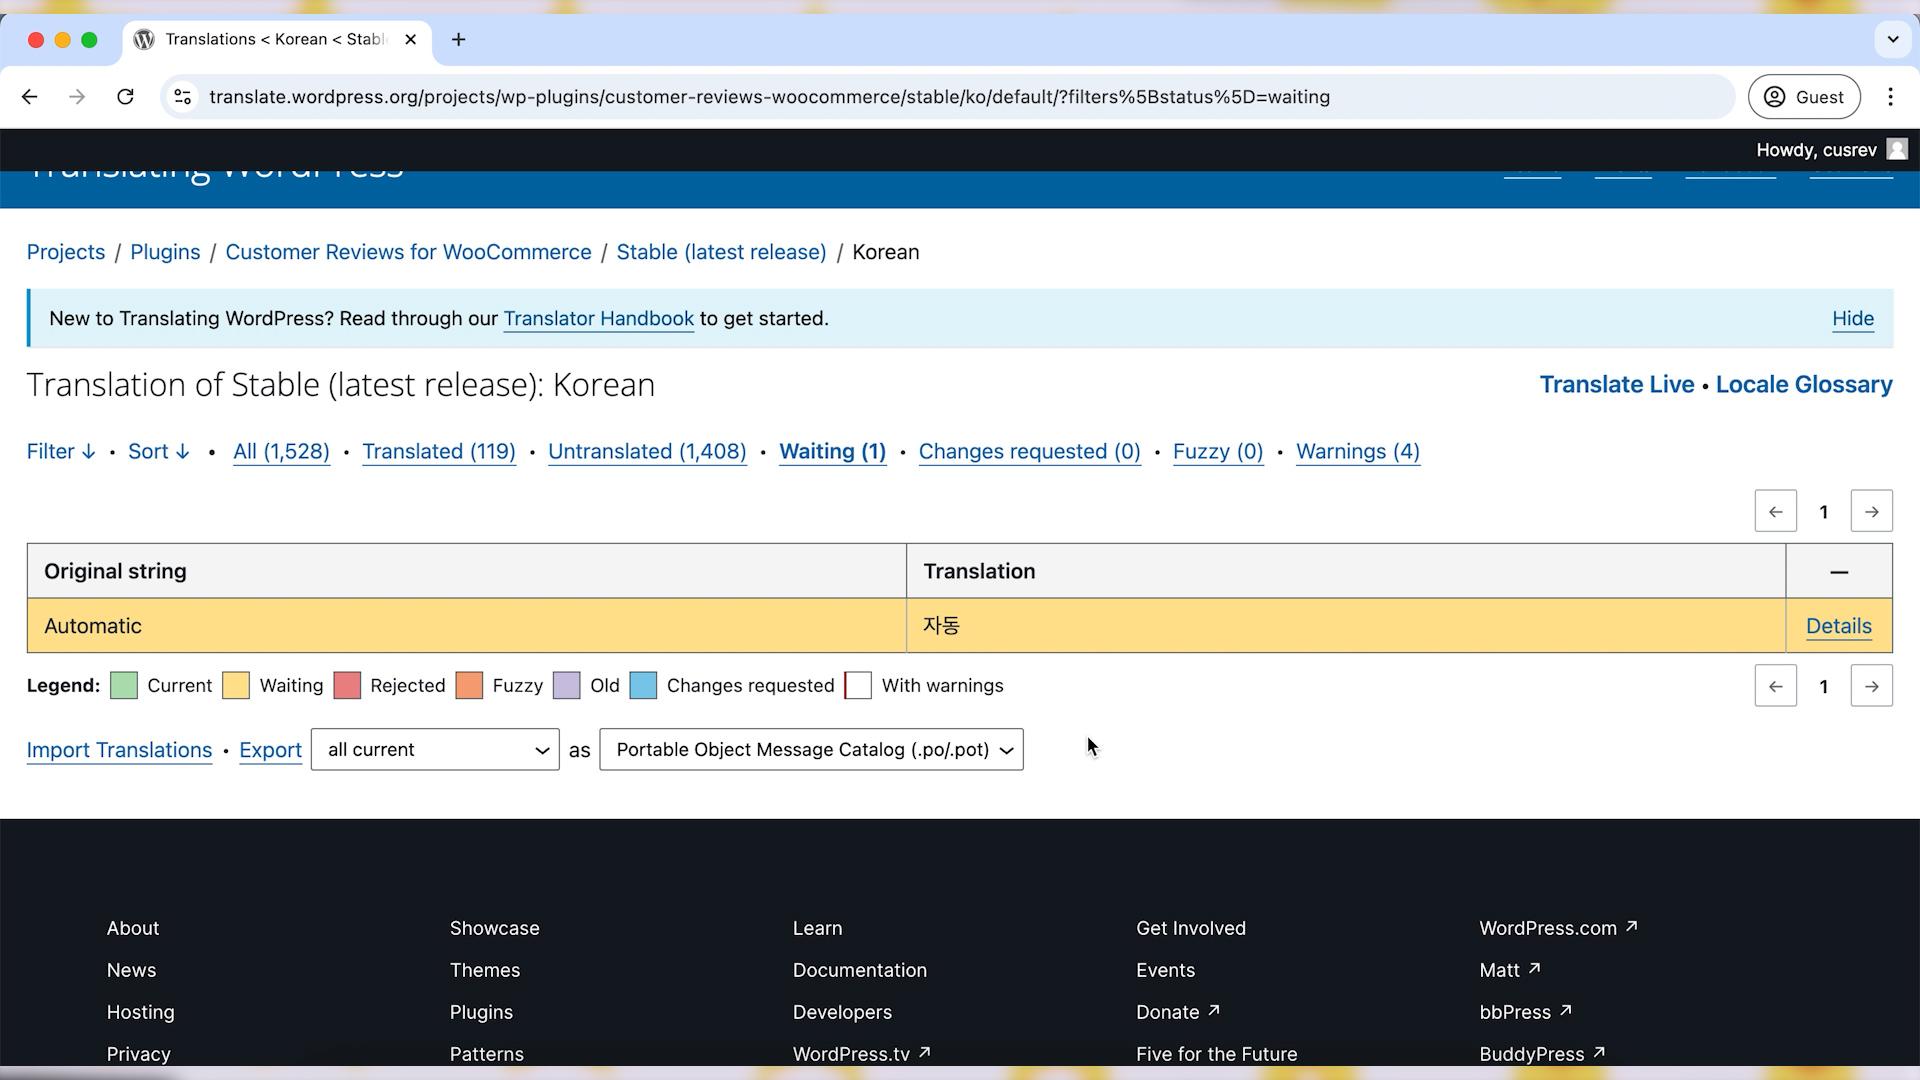
If you’re part of the translation team for that language, your translation may be immediately approved, or it will go through a review process by a translation editor.
Step 5: Translation Guidelines
Make sure your translation is accurate and context-appropriate. You can often view where the string appears in the plugin to understand its use.
Follow any specific guidelines for the language you’re translating into. You can refer to the Translation Style Guide for your language.
Step 6: Wait for Approval
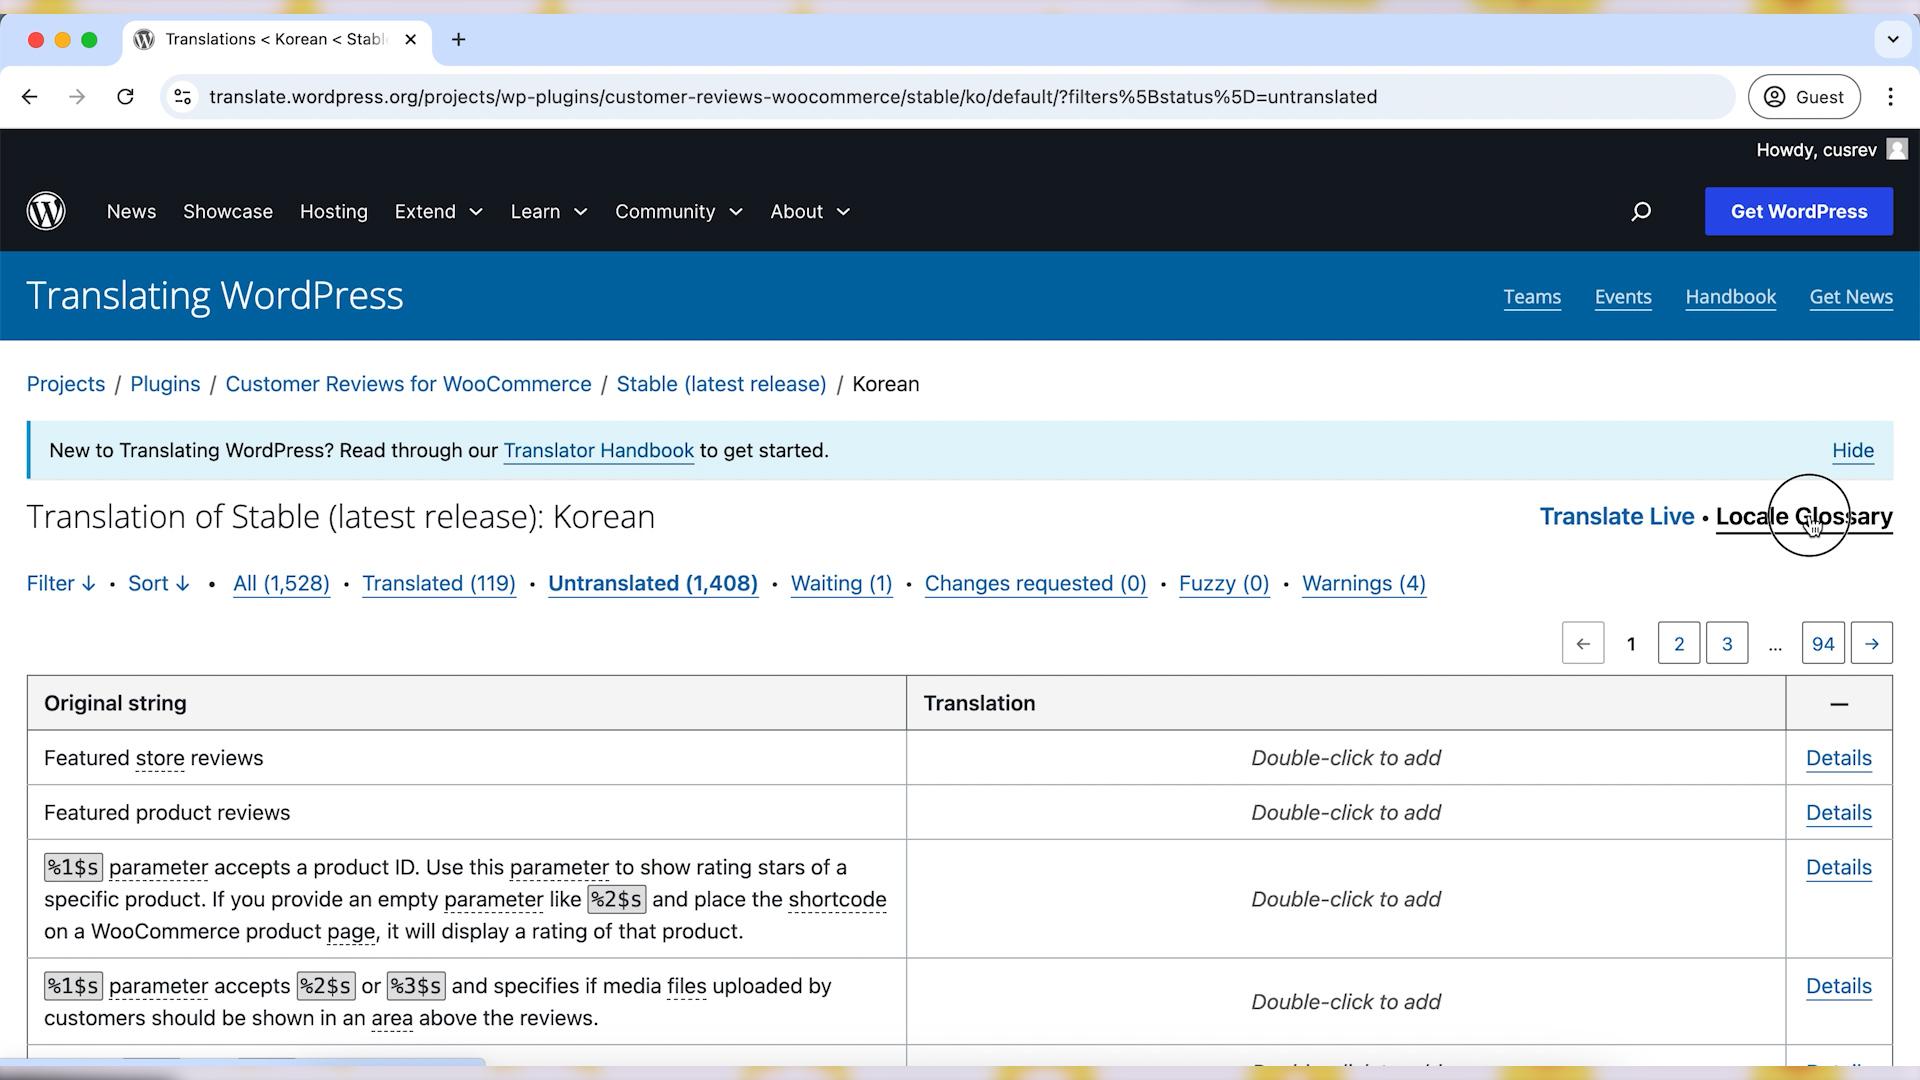
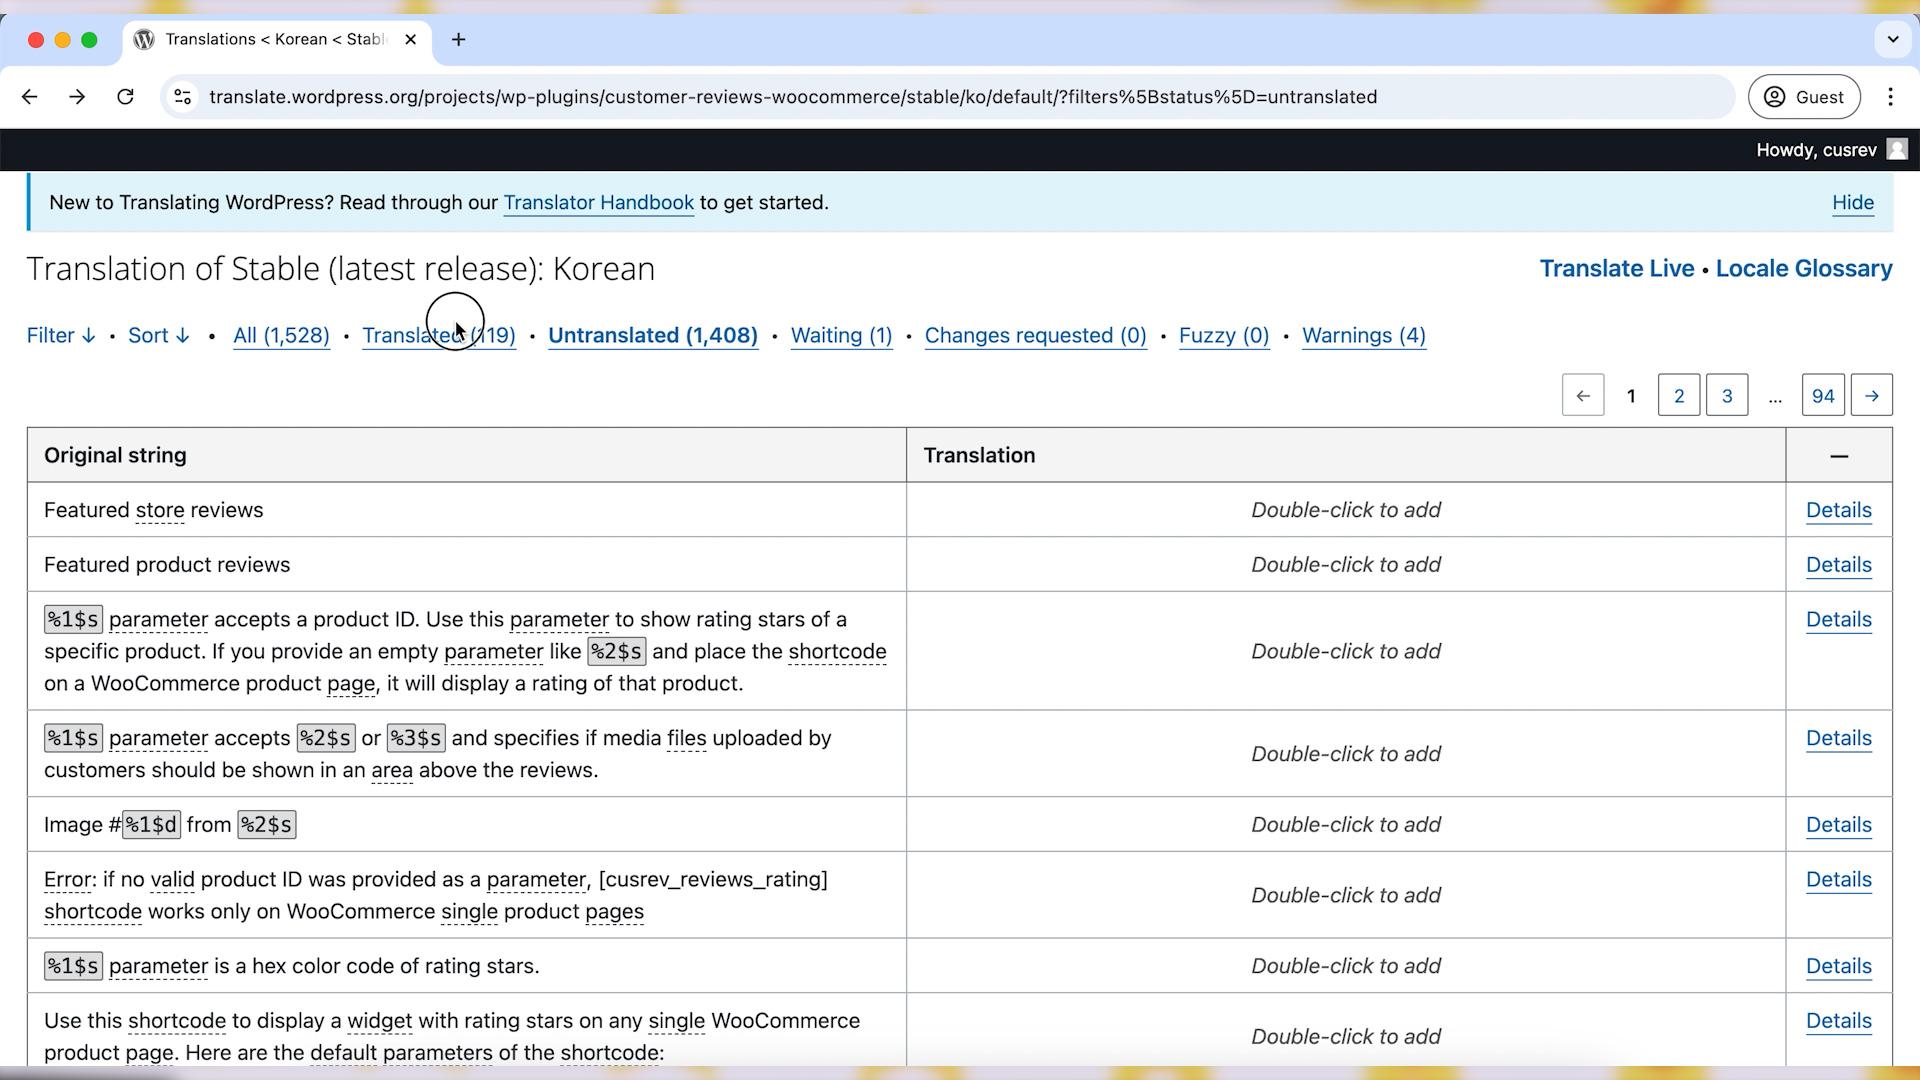
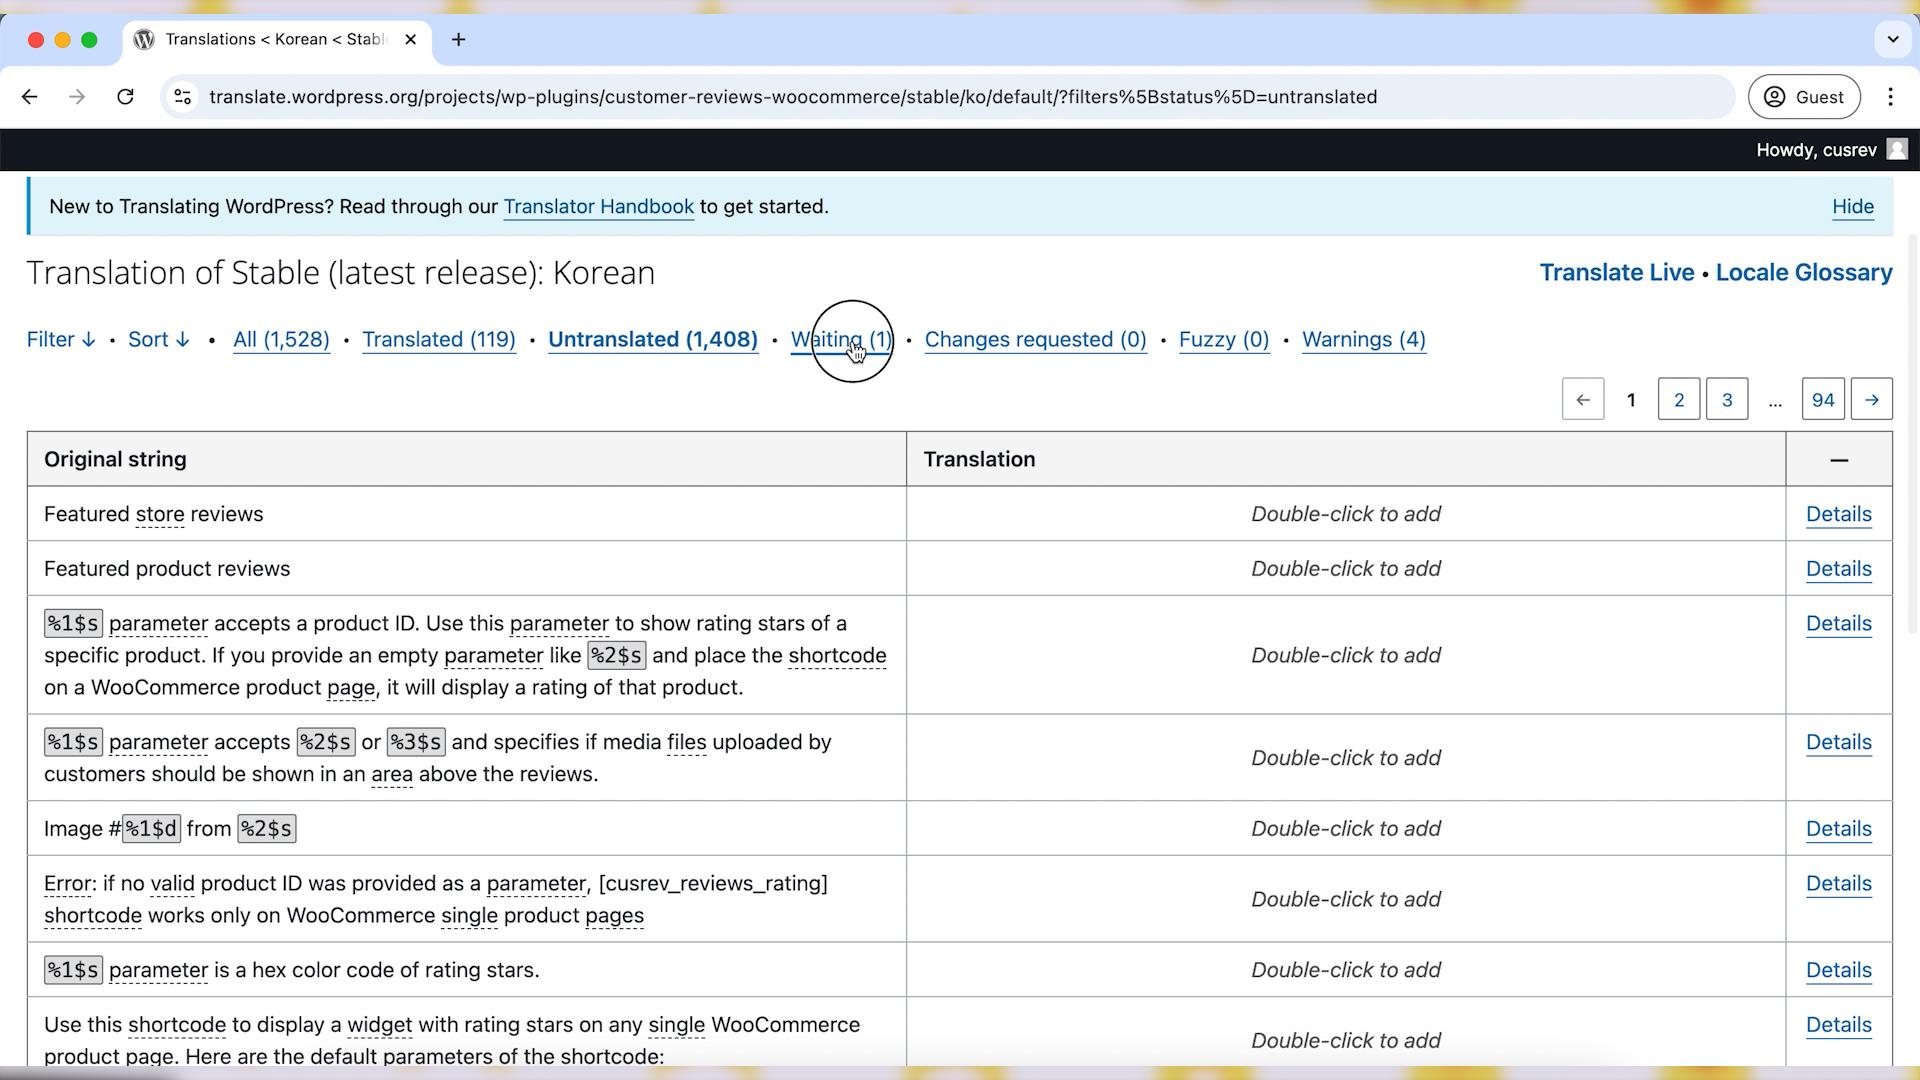
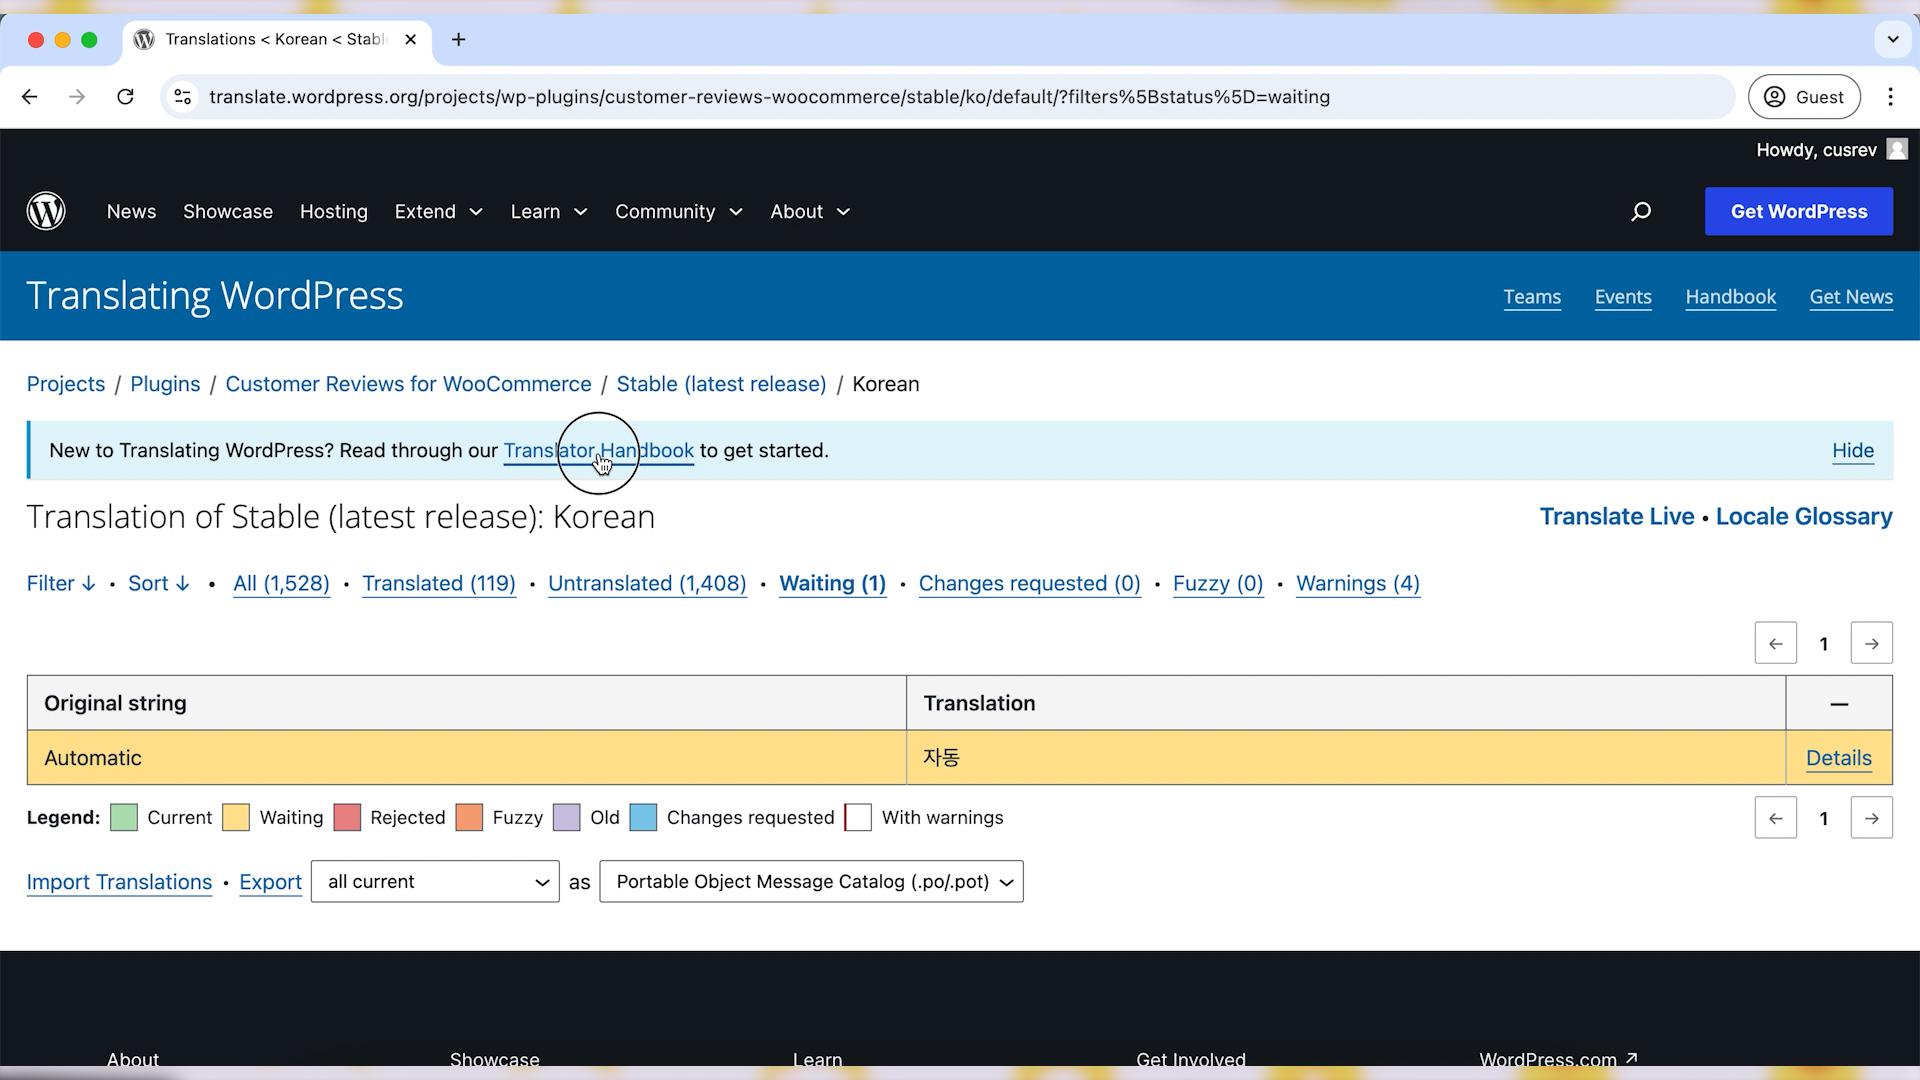
If you’re not a Project Translation Editor (PTE) for the language, your translations will be in “Waiting” status until reviewed and approved by a PTE. You can monitor the progress of your translations under the “Waiting” and “Translated” tabs.
Step 7: Get Involved in the Translation Community
If you are passionate about translating, consider becoming a Project Translation Editor (PTE) for your preferred language and plugins. This role allows you to approve translations yourself. Join the Polyglots community and submit a PTE request to become a translation editor.
Wrapping up
By following these steps, you can effectively translate a WordPress plugin via the web interface, making your site more accessible and user-friendly for a global audience. Happy translating!

