

Importing products to WooCommerce is a crucial step in setting up your online store efficiently. In this guide, we’ll walk you through the process of importing products to WooCommerce, allowing you to populate your store with inventory quickly and effectively.
Video version:
Step 1: Prepare Your Product Data
Gather all product information, including titles, descriptions, prices, categories, and images.
Organize your product data in a spreadsheet format like CSV (comma-separated values) or Excel.
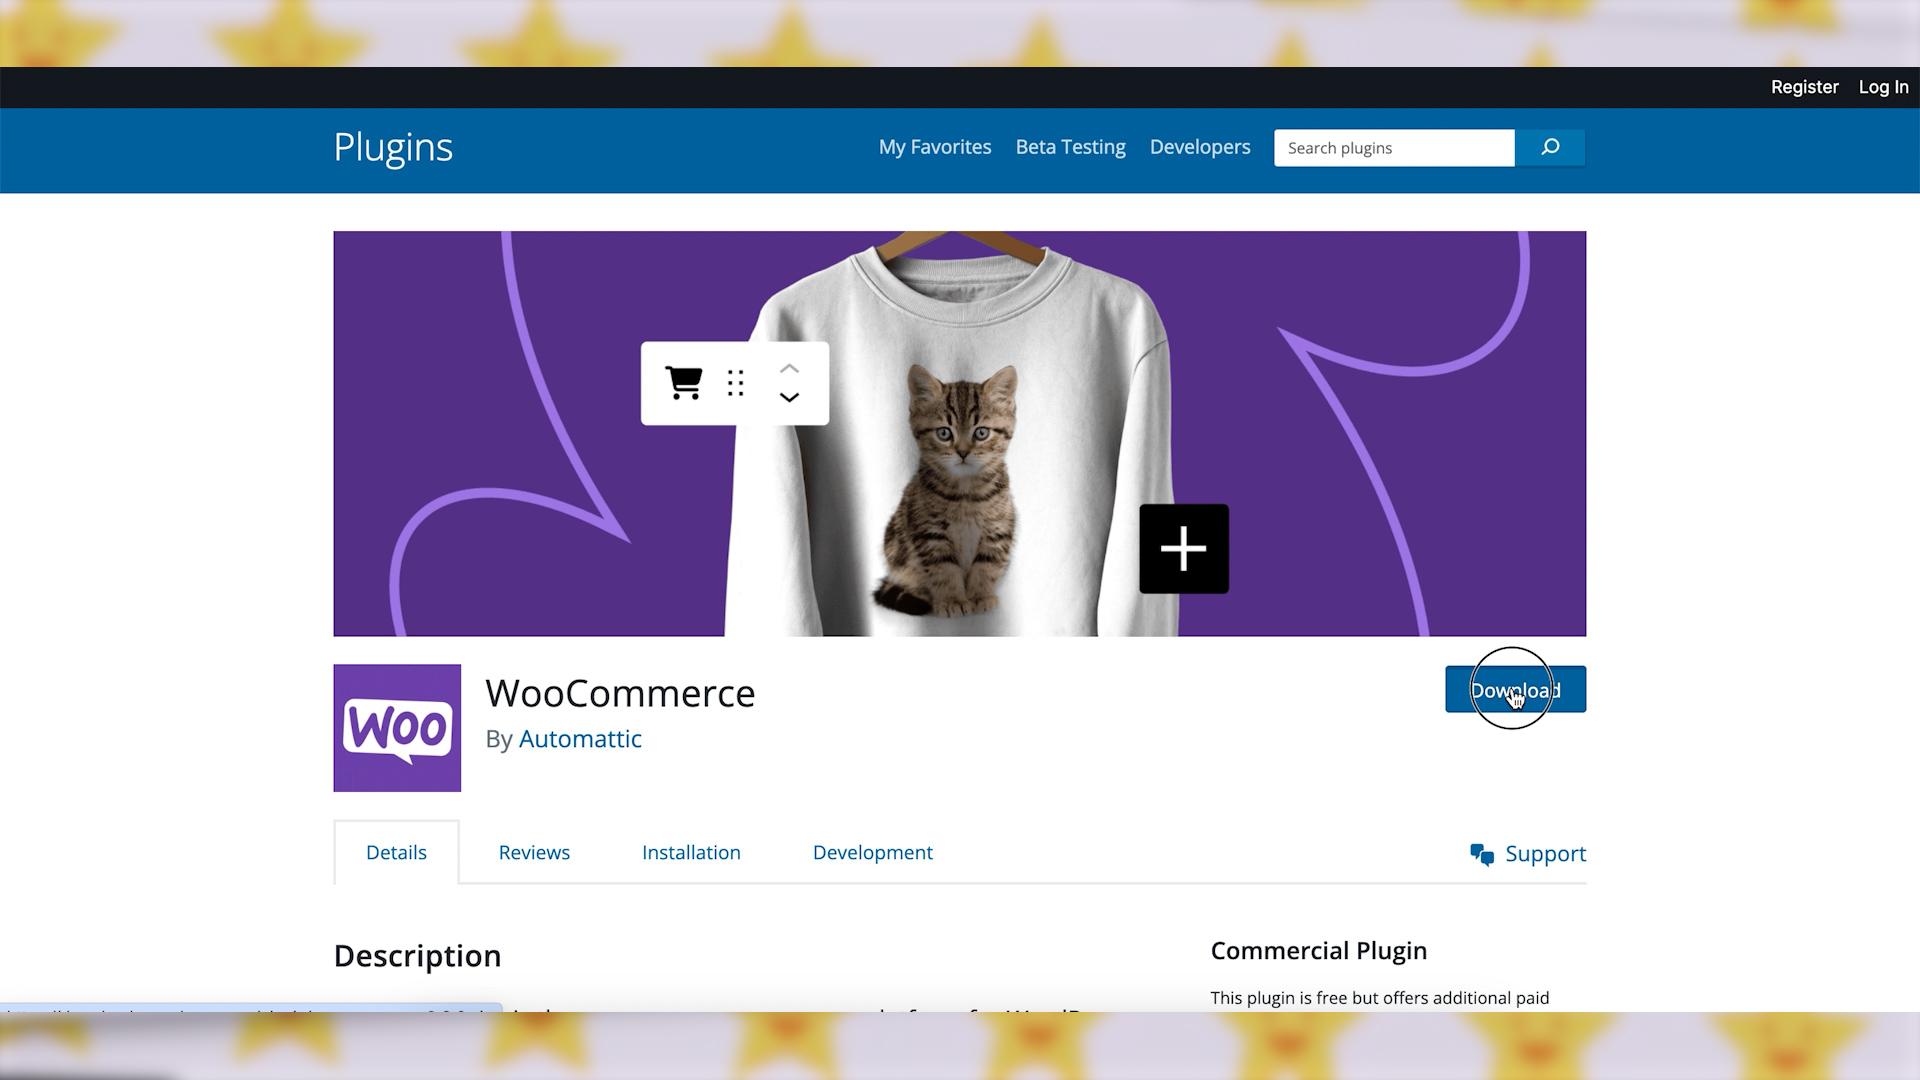
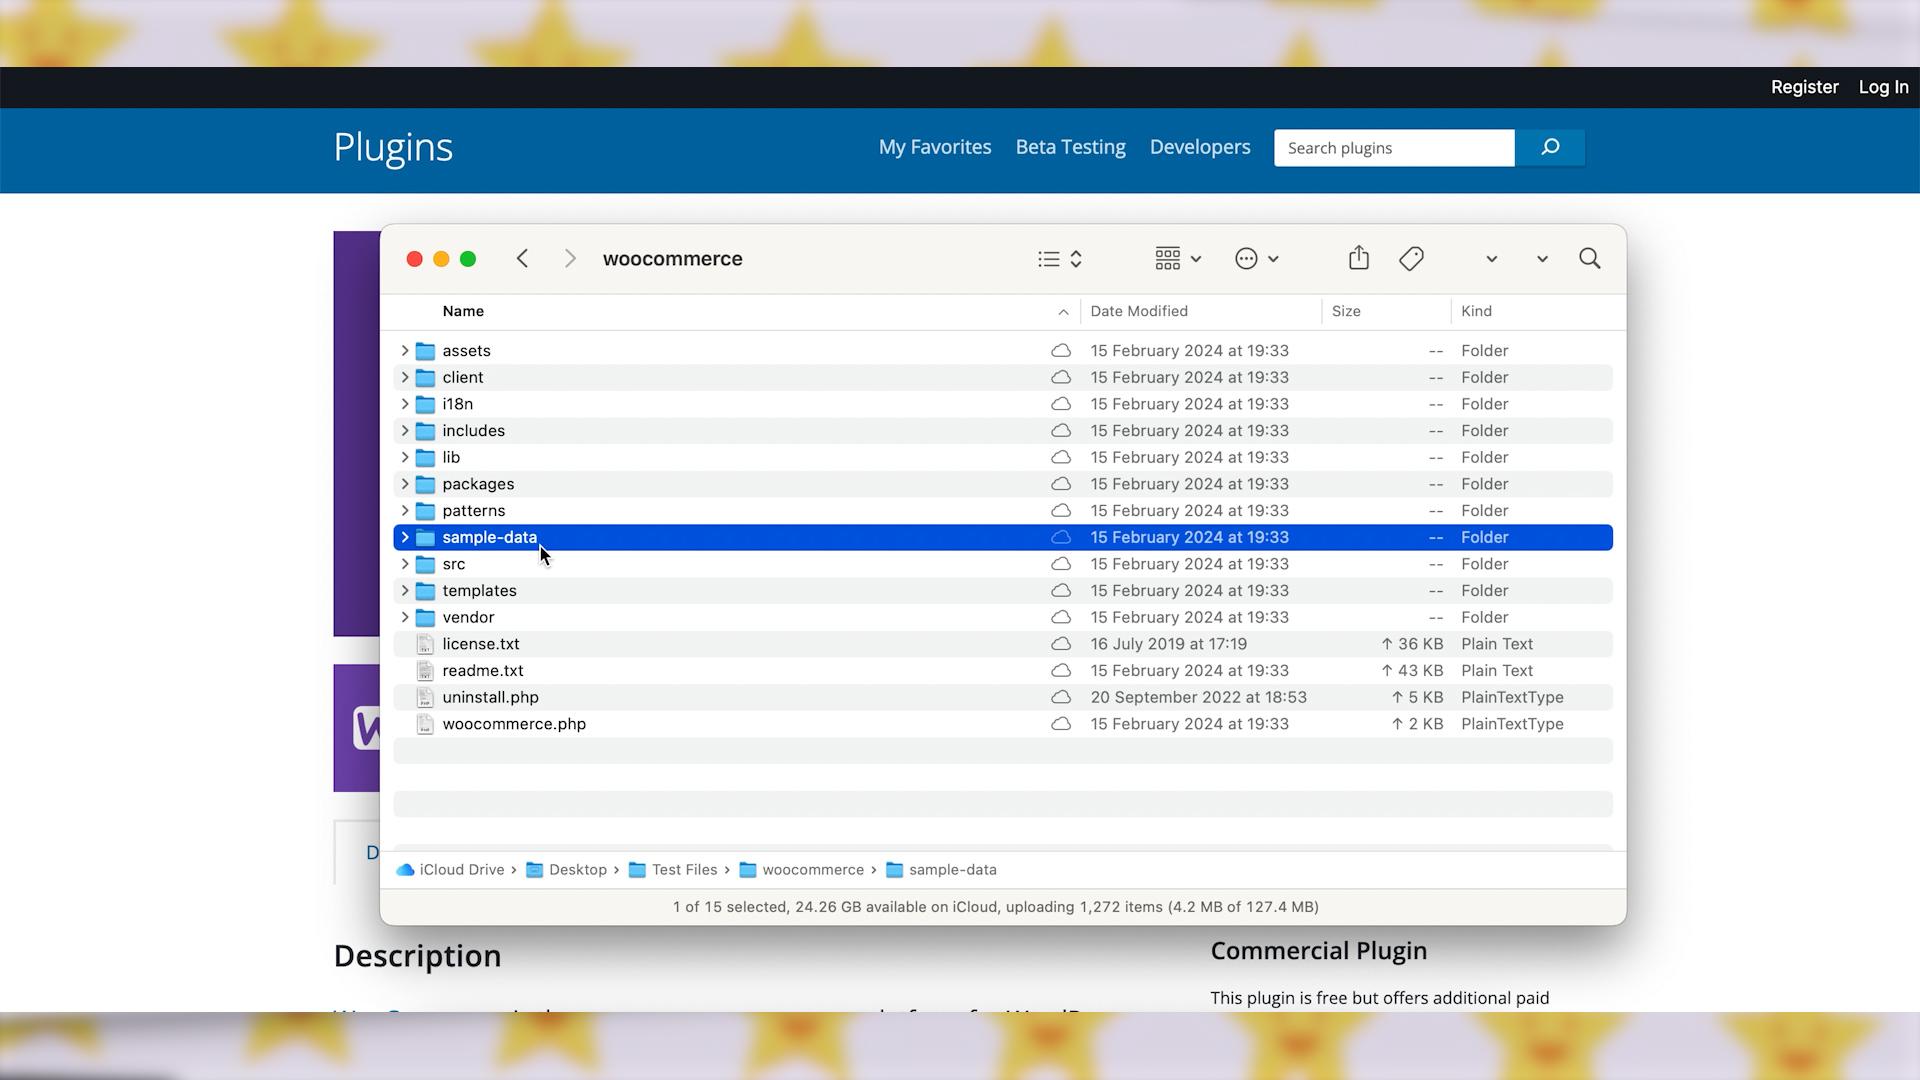
If you need a sample file with the import format, you can get it from the WooCommerce installation archive. Go to the official page of WooCommerce plugin on WordPress.org. Click on the “Download” button and save the installation archive to your computer. Extract the archive, and look for the “sample data” folder. Here, there is a “sample products” CSV file that you can use as a template to create your own import file.
Step 2: Choose an Import Method
There are several methods to import products into WooCommerce:
- The first method is to use a CSV or TXT file to import product data using the standard built-in WooCommerce utility.
- The second method is to use a dedicated import plugin like “WP All Import” or “Product CSV Import Suite” for importing products to WooCommerce.
In this tutorial, we will use the first method because it doesn’t require installation of any additional plugins.
Step 3: Initiate the Import Process
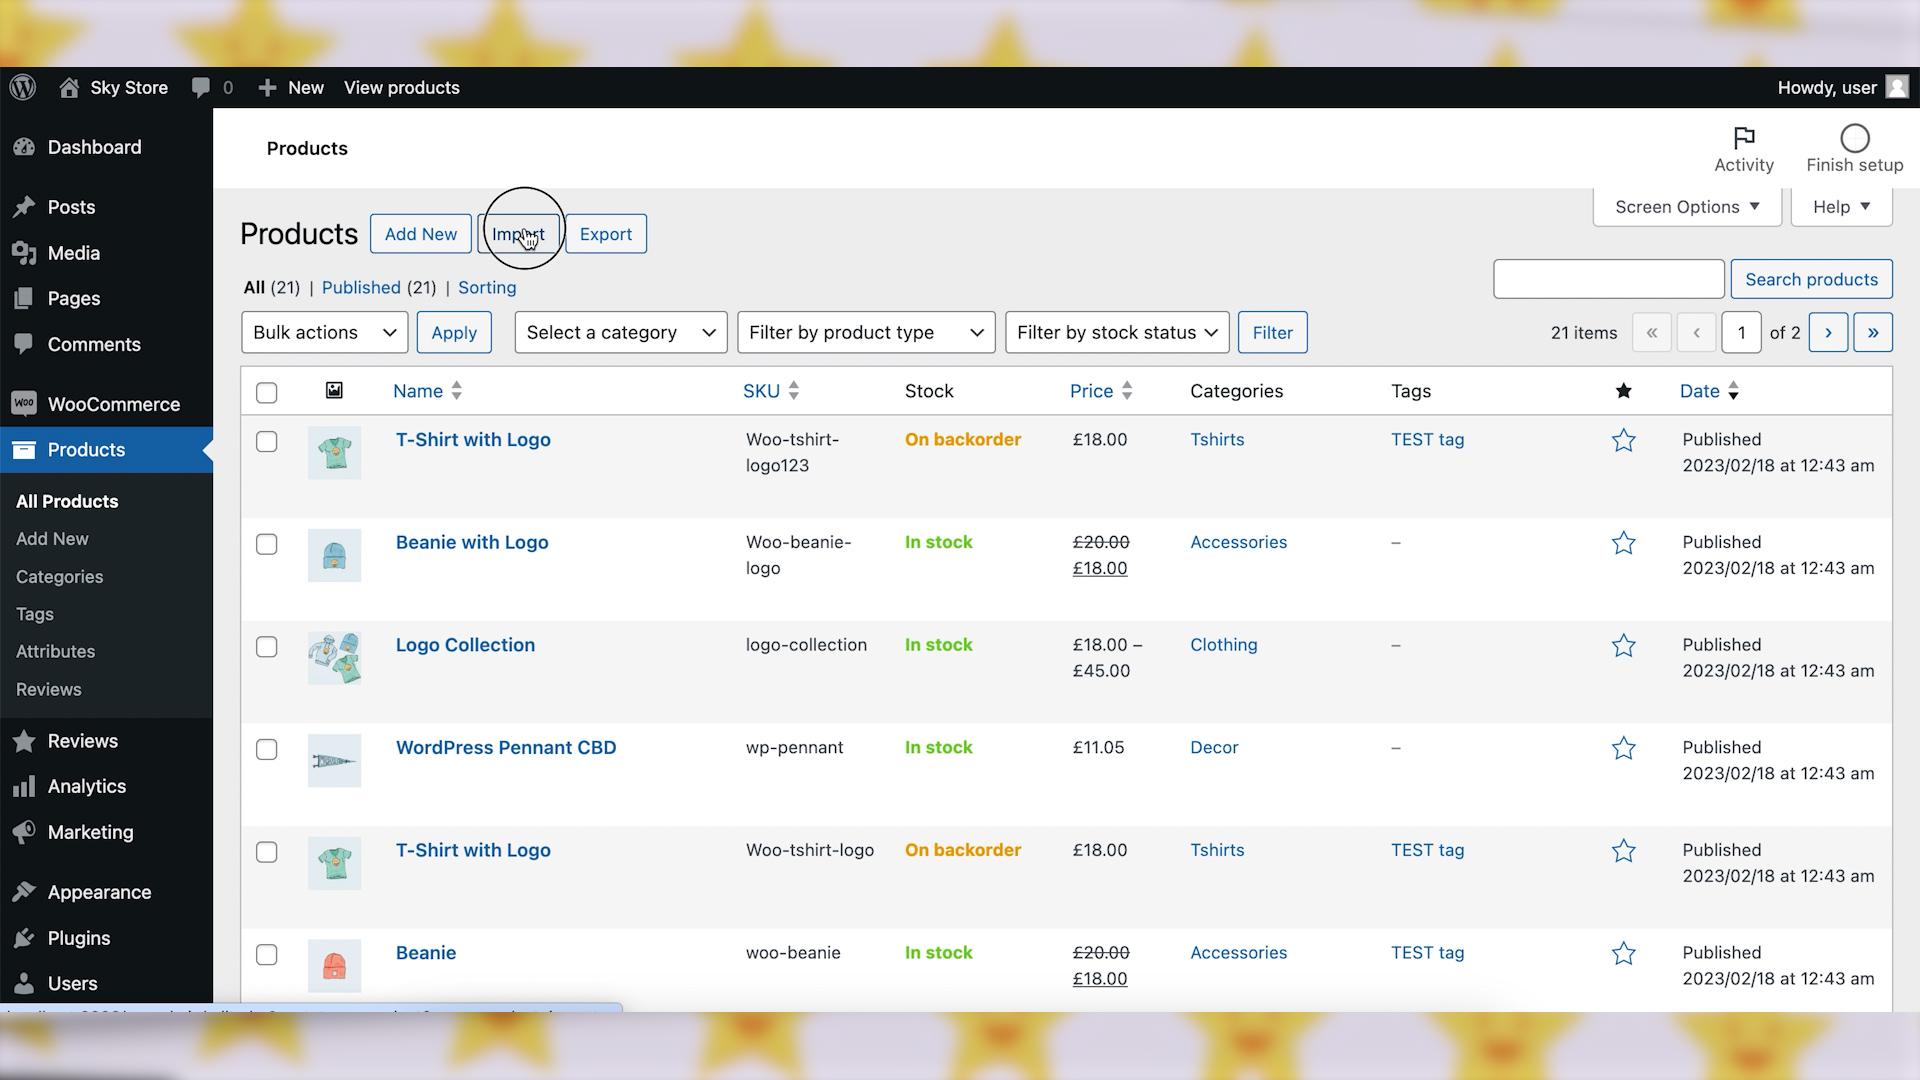
- In your WordPress dashboard, go to the “Products” node in the WordPress menu.
- Click on the “Import” button.
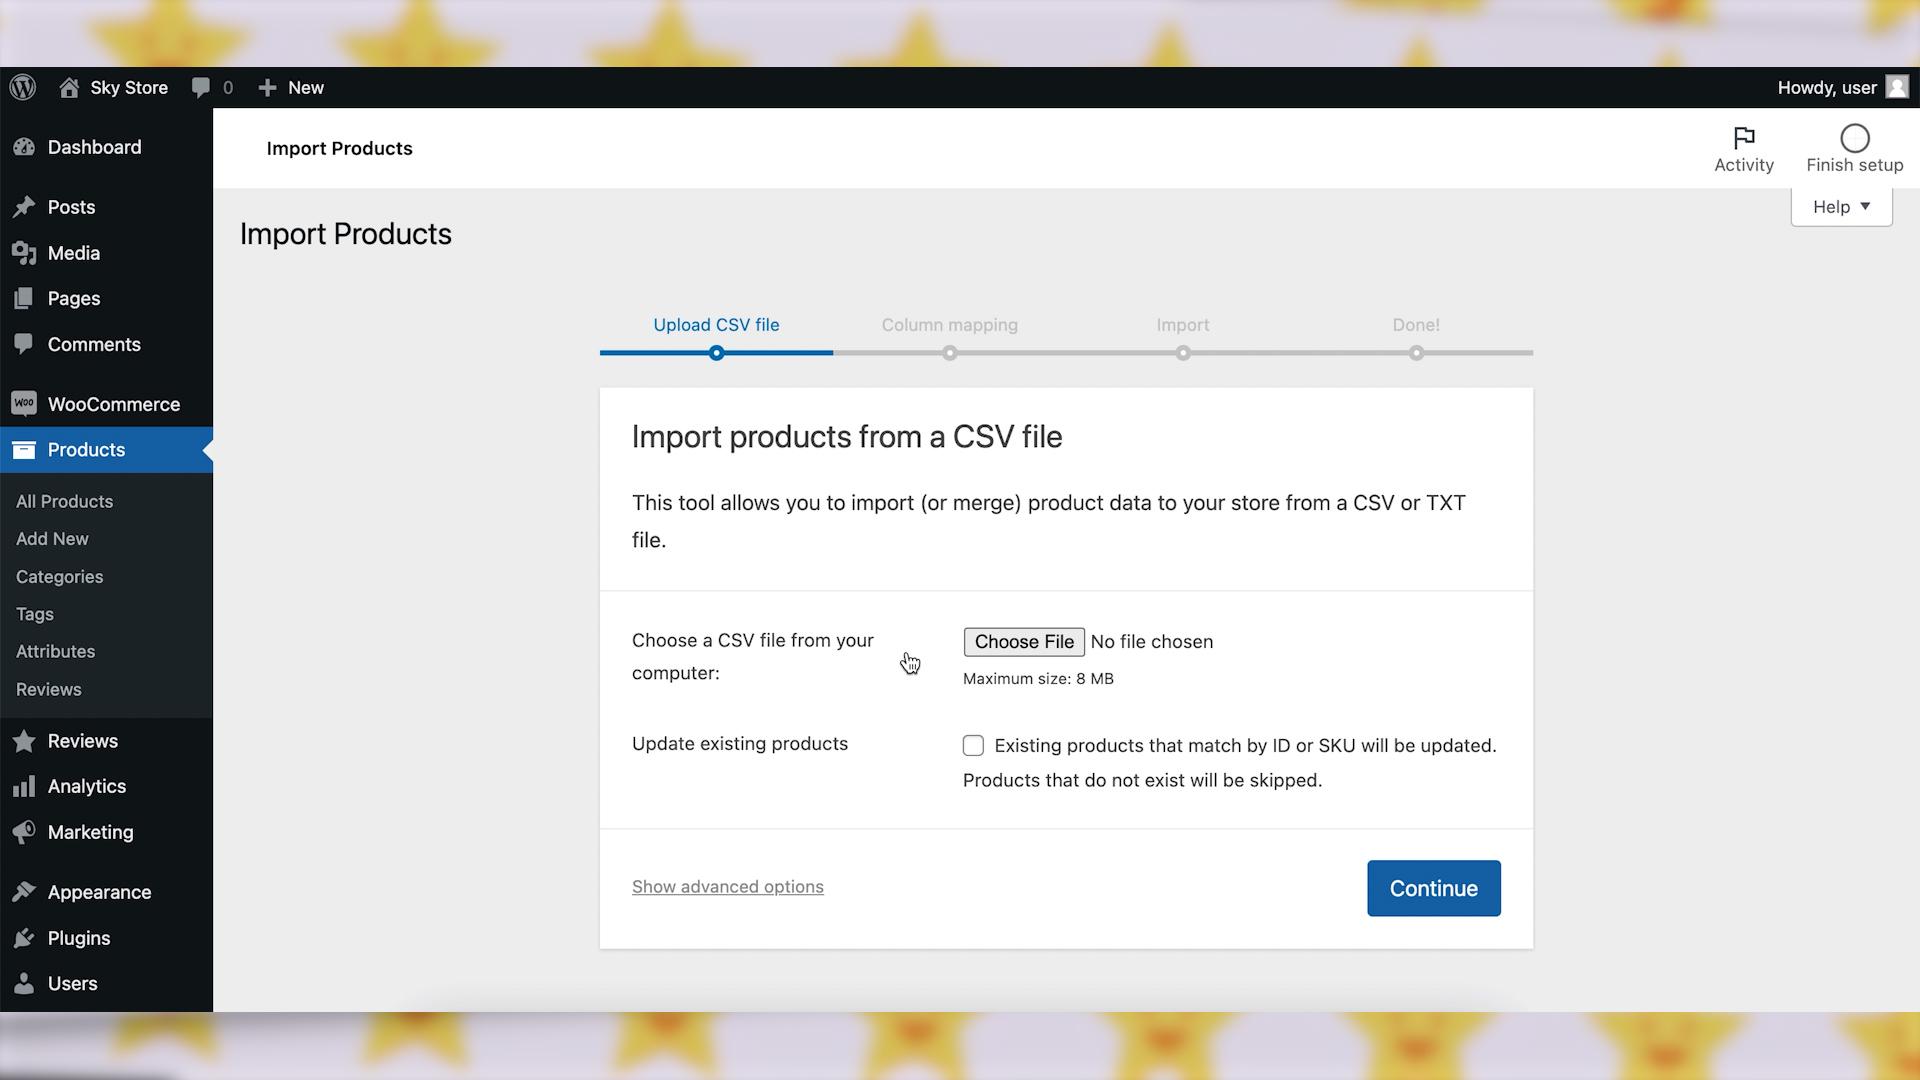
- Follow the prompts to select your import method and upload your CSV or TXT file.
- As a next step, map the fields in your file to the corresponding WooCommerce product attributes.
Step 4: Review and Confirm
- Preview your fields mapping to ensure everything looks correct.
- Check product titles, descriptions, prices, categories, images, and other optional fields.
- Make any necessary adjustments before starting the import.

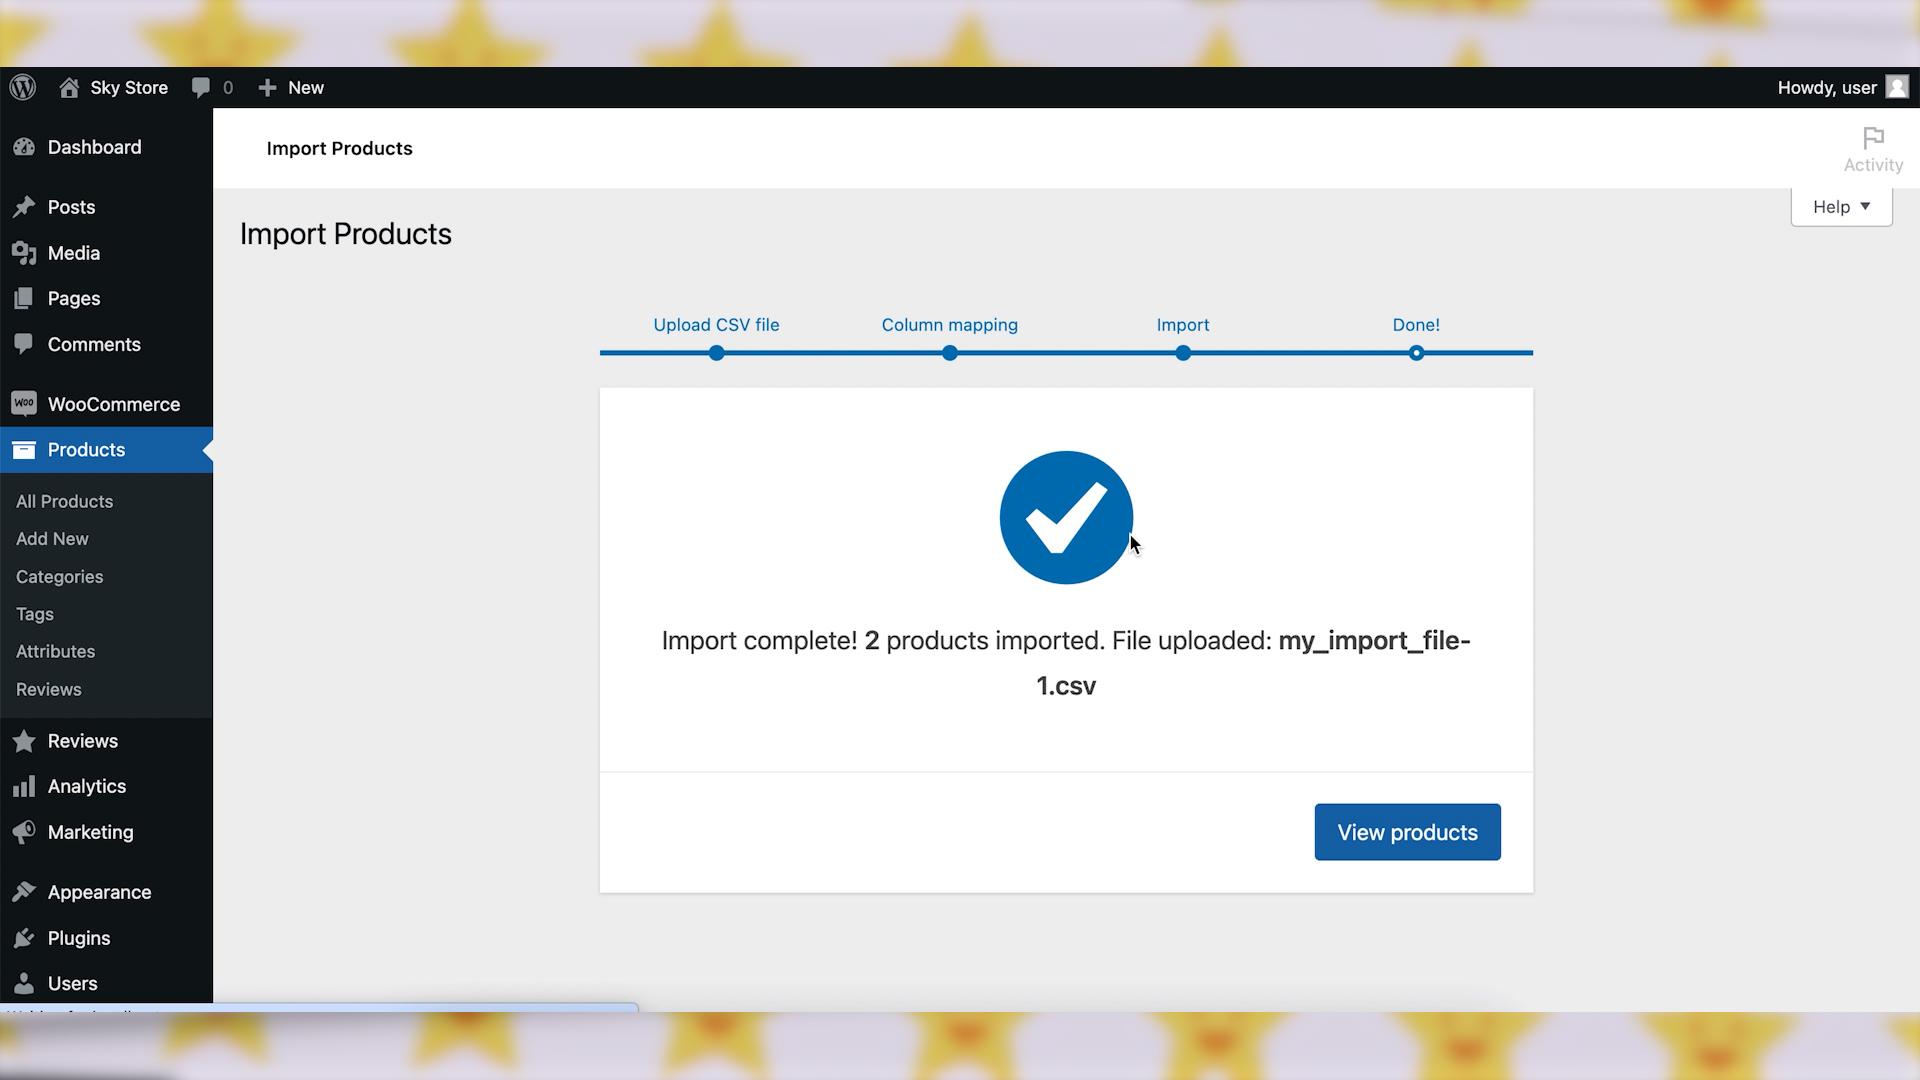
Step 5: Run the Import
Once you’re satisfied with the mapping, complete the import process. Click “Run the importer” to add the products to your WooCommerce store.
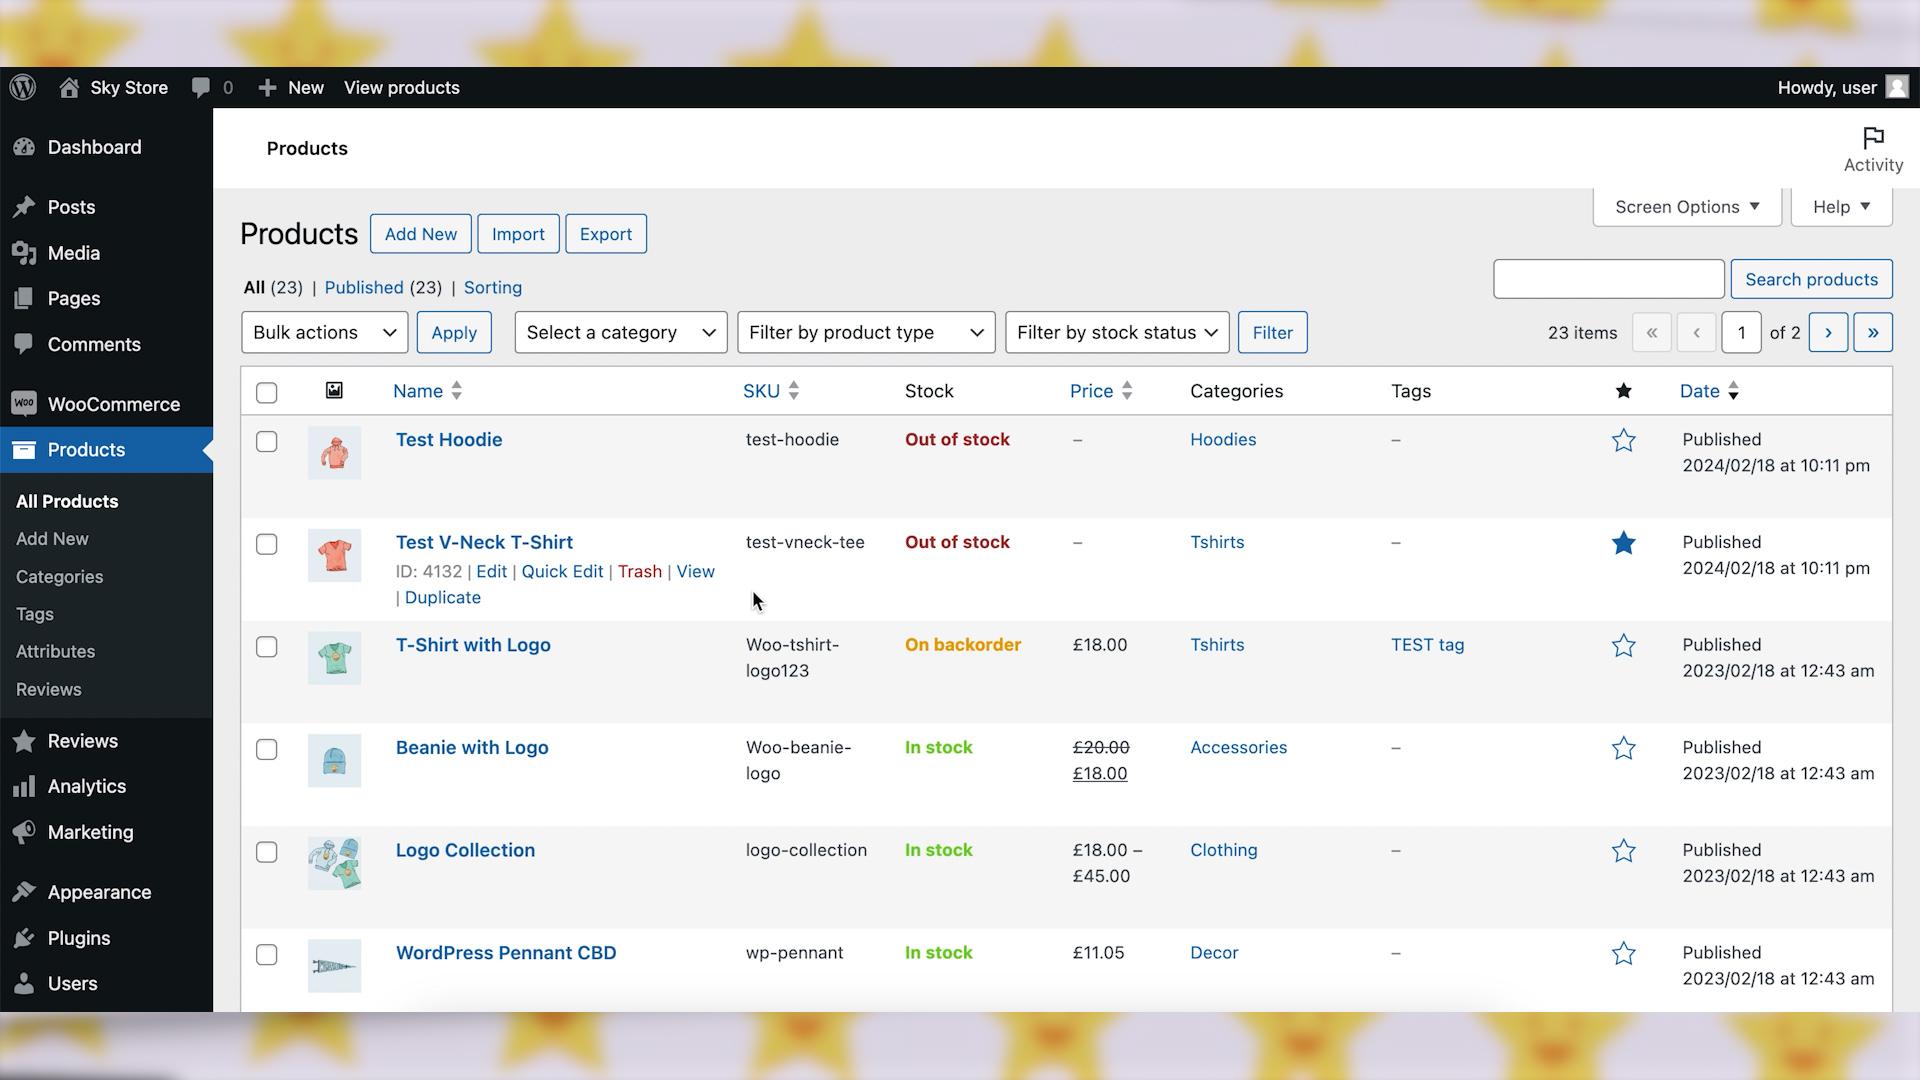
Step 6: Verify Imported Products
After the import is complete, navigate to the “Products” node in the WordPress menu to verify that your products have been successfully imported.
Wrapping up
By following these steps, you can efficiently import products to your WooCommerce store, saving time and effort in setting up your online inventory. This streamlined process allows you to focus on other aspects of running your online business. Happy selling!