Understanding the complexities of the eCommerce world can be a challenge, especially if you are a beginner. It is particularly difficult for sellers who manage their sales through different stores or channels. You can manage all your websites from one host and user interface by opting for WooCommerce Multisite setup.
This system is used by many online sellers for website management through a single network. It will help you in staying updated about the functioning of all your stores in a jiffy.
Generally, sellers tend to use a central hub for managing and monitoring their websites. And WooCommerce Multisite is a perfect fit. From a single installation, you can instantly create different stores. It is also a suitable option for single stores with many product categories and catalogs.
But, you must remember that while utilizing this Multisite feature, you will have to be quick in responding to all the websites. Only then, you will be able to make the most of this functional service and capitalize on it.
How to Configure WooCommerce on a Multisite?
This tutorial will help you configure WooCommerce on Multisite, allowing you to create a network of websites. However, you must install the WooCommerce single site beforehand. Also, in order to alter files, you would be required to obtain FTP access to the directory of the installation. Once you have both of the above, follow the below-mentioned instructions.
1. The conditions for the installation of Multisite
Prior to the installation of WooCommerce Multisite, ensure the following:
- WooCommerce is pre-installed
- Proper activation of permalinks
- Absolute deactivation of any and all plugins
- There is a full backup of WordPress installation available
- FTP access to WordPress server has been attained
2. Permit Multisite to be activated in wp-config.php
When it comes to wp-config.php, it is the file that contains the base configuration details of your WordPress website. Therefore, the very first thing to do is to make the Multisite feature active in this file: wp-config.php. This could be done as follows:
1. Establish an FTP connection to your website
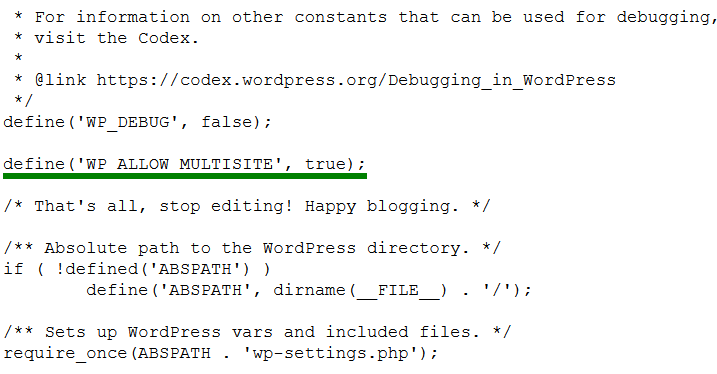
2. Open the file wp-config.php and include this line:
define('WP_ALLOW_MULTISITE', true);
just over this line:
/* That's all, stop editing! Happy blogging. */
3. Make sure to save the changes to the file.
With the above steps, you would be able to activate the Multisite feature on your WordPress installation.
3. Setting-up the WordPress Network
The following steps would help you establish a network on WordPress Multisite:
- Log in to your website after refreshing your browser.
- The sidebar on the left, just underneath Tools, is where the menu tab Network Setup is. This would allow you to configure WooCommerce on Multisite.
- You have two options. You can either utilize subdomains for your network websites or choose to set them up in subfolders. Do keep in mind that this is a crucial setting that would impact all your network websites, and you won’t be able to alter it afterwards. Hence, decide carefully. If you prefer your website to be mapped to a top tier domain, then you can accomplish that through domain mapping.
- You will find a blank field called Network Title under the segment Network Details. Here, you would have to fill in a name for your network.
- Lastly, you would be required to fill in the email address of the admin of the site.
- Now, you can click on the Install button and commence installation.

4. Include additional code snippets to wp-config.php and .htaccess files
You will be receiving two snippets of code from WordPress. You will have to add these snippets to the files located at the root directory of WordPress, namely wp-config.php and .htaccess files. This is how you can do it:
- Establish an FTP connection to your website.
- Introduce the first snippet of the code to the file wp-config.php, just before the line: /* That’s all, stop editing! Happy blogging. */
- Similarly, add the second snippet to the file .htaccess, substituting other rules.

5. Add new websites to the Network
The main feature of WordPress Multisite is to provide the ability to add as many websites as possible. Therefore, you can add multiple websites, simultaneously, anytime. Please follow these steps:
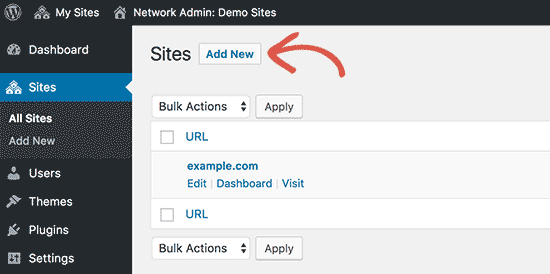
- Visit My Sites > Network Admin > Sites and then click on Add New
- Fill in the website address you want
- Decide a title for the site. This name would be showcased at multiple different places, all throughout the network.
- Pick an admin email address. In the case where there is no user or the email as of now, a new user would have to be made for the site, as the admin.
- Once you click on the Add Site button, your new website will be created and you will be able to find it by visiting My Sites.
7. Set up themes and plugins in WordPress Multisite
Under WordPress Multisite, the super admin is the only one who can activate or deactivate plugins and themes in the network. In order to permit site admins to activate or deactivate plugins, the super admin would have to tick the checkbox Enable administration menus, on the Network Settings page, given in the Network settings. You can access plugin administration by clicking on Plugins, under the Network Admin. Similarly, themes administration can be accessed by clicking on option Themes, provided in the Network Admin section.

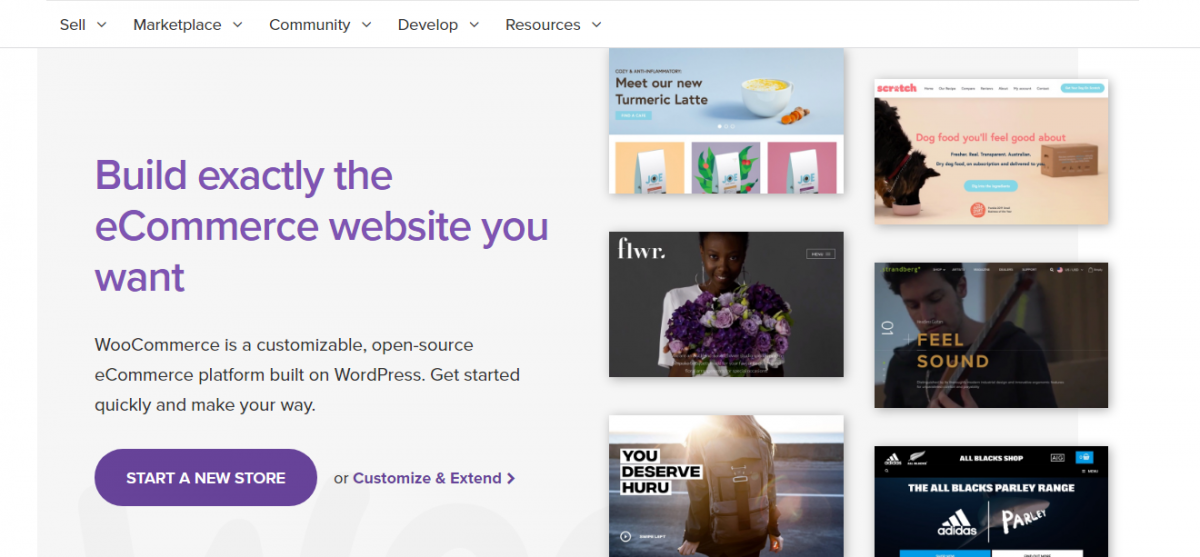
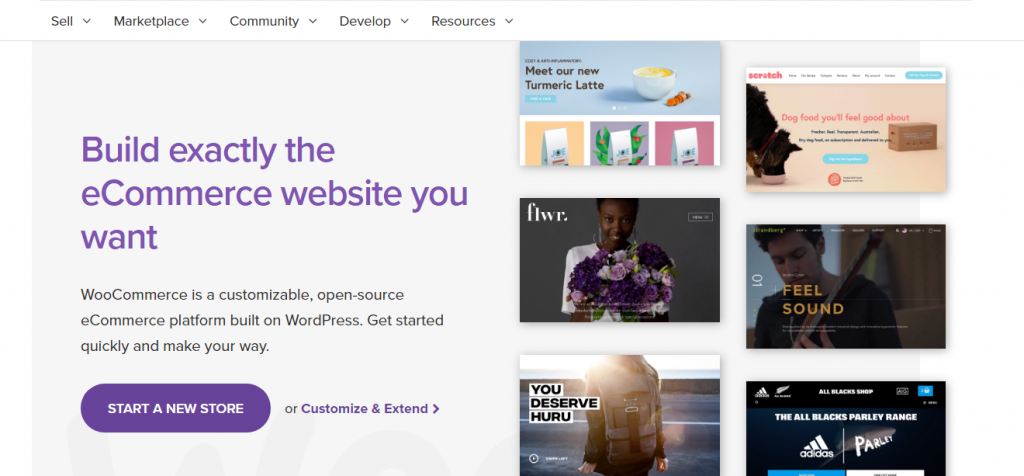
8. Installing WooCommerce on Multisite
WooCommerce is a free WordPress eCommerce Plugin. After installation, you can network-activate WooCommerce, and develop your very own WooCommerce multi-store.
The following are the steps for installing WooCommerce on two or more sites that are part of the same multisite network:
- Begin by doing a log-in on the admin dashboard of the WordPress site. For installation, it is crucial that the login is done by you in the capacity of the super administrator. It will enable you to control installed plugins on the multisite network.
- Once logged in, go to the Plugins page on the menu on the left. On clicking that you will find the option Add New.
- Proceed to type “WooCommerce” in the search bar located on the top right side. You will be able to view a comprehensive list of plugins.
- In order to install the WooCommerce plugin, you have to click on the Install Now button accompanying the plugin, visible among the list of plugins. By clicking the button, you will be able to install the WooCommerce plugin on your WordPress Multisite website.
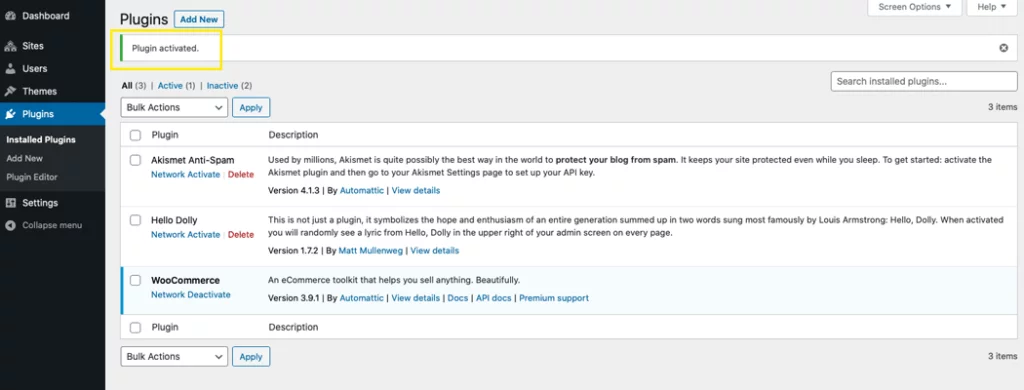
- It will take a few seconds for the installation to complete. Once installed, the button will be displayed: Network Activate. Proceed to push this button.
- By clicking Network activate, you have activated WooCommerce for your Multisite network.
- The page will then redirect you to Plugins. A message will appear on the top of the page, informing you of the activation of the plugin.
And that’s it. You have successfully network-activated WooCommerce on your desired website.
Conclusion
Even the thought of managing various online stores at once excites many sellers. You can achieve all of this and more by using the WooCommerce Multisite setup. All you need is to have a WordPress installation to keep your business going.
It will help you set up your online network of websites and organize them accordingly. You just have to add products to the stores and keep a track of all orders and visits actively. Customizing websites and managing them efficiently has been made easier by this functional tool.
These are the steps that would help you configure WooCommerce Multisite.